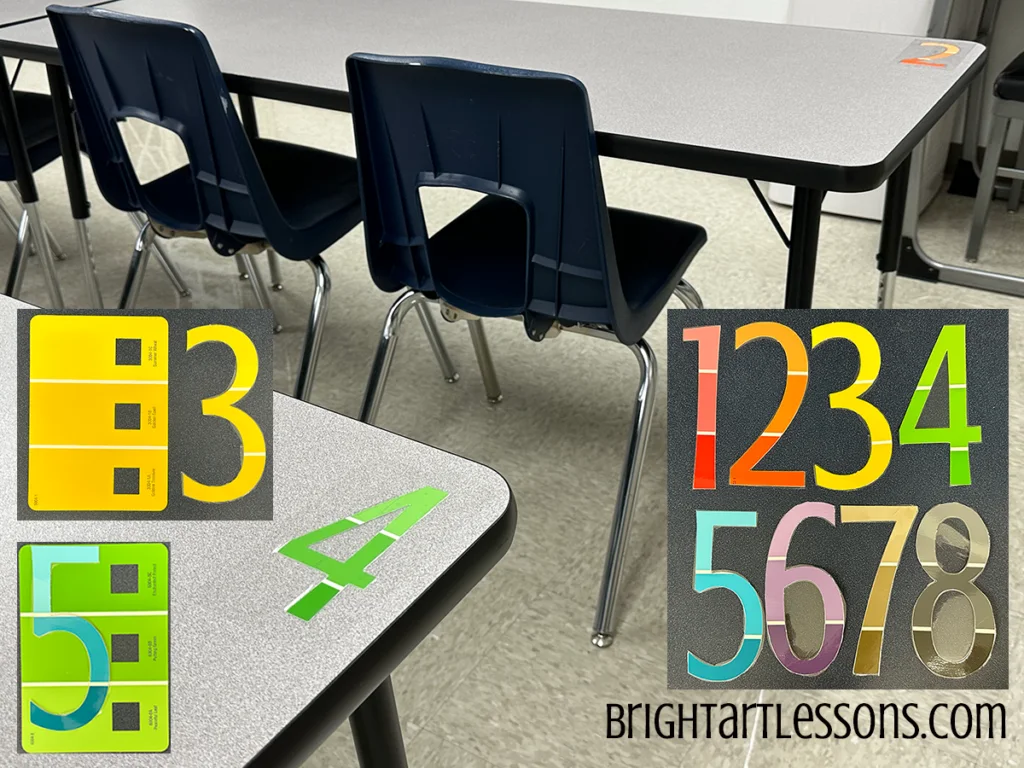
How can you organize an art room? Classroom organization begins with color coding grades or classes. It’s a visual system for you, the students, and substitutes!
Color Coding Classes
Assign a color to each grade. I assigned the following: Kindergarten – Red; 1st Grade – Orange; 2nd Grade – Yellow; 3rd Grade – Green; 4th Grade – Blue; 5th Grade Purple; 6th Grade – Aqua; 7th Grade – Hot Pink; 8th Grade – White, etc. Color Coding Can Be Applied To:
- 1. Table Folders (Table 1 – Class 1A)
- 2. Teacher Labels (Magazine holders, Drying racks, Lessons)
- 3. Drying Racks
- 4. Lesson Notebooks
- 5. Literature
- 6. Student Worktables
1. Color Code Student Table Folders
Ikea’s metal magazine holders have been perfect for holding table folders. They are magnetic, so the laminated cardstock labels are movable if folder shuffling is needed. Table folders DO NOT have teacher names but a class code, so as teachers change, I don’t have to change the labels. See how to make the cardstock at my post Teacher Labels.
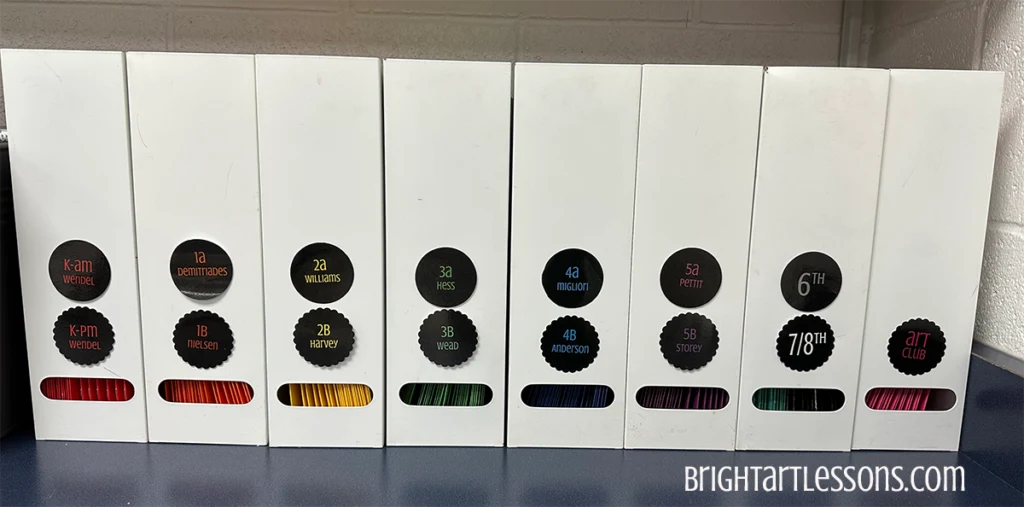
The benefit of this system is if a student is moving or you need to find a specific project quickly, it can be found. For consecutive week projects, it saves time distributing artwork. Place the table folders with supply buckets so students can easily continue their projects.
2. Color Code Teacher / Class Labels
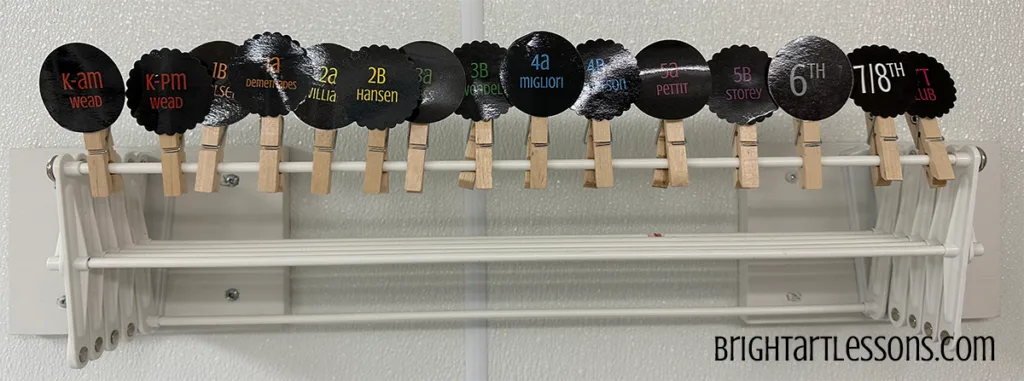
A 2-inch circle punch and 2-inch scallop circle punch from laminated cardstock are hot glued onto a clothes pin. I can easily label drying racks, lesson plans, or prepped materials.
3. Color Code Drying Racks
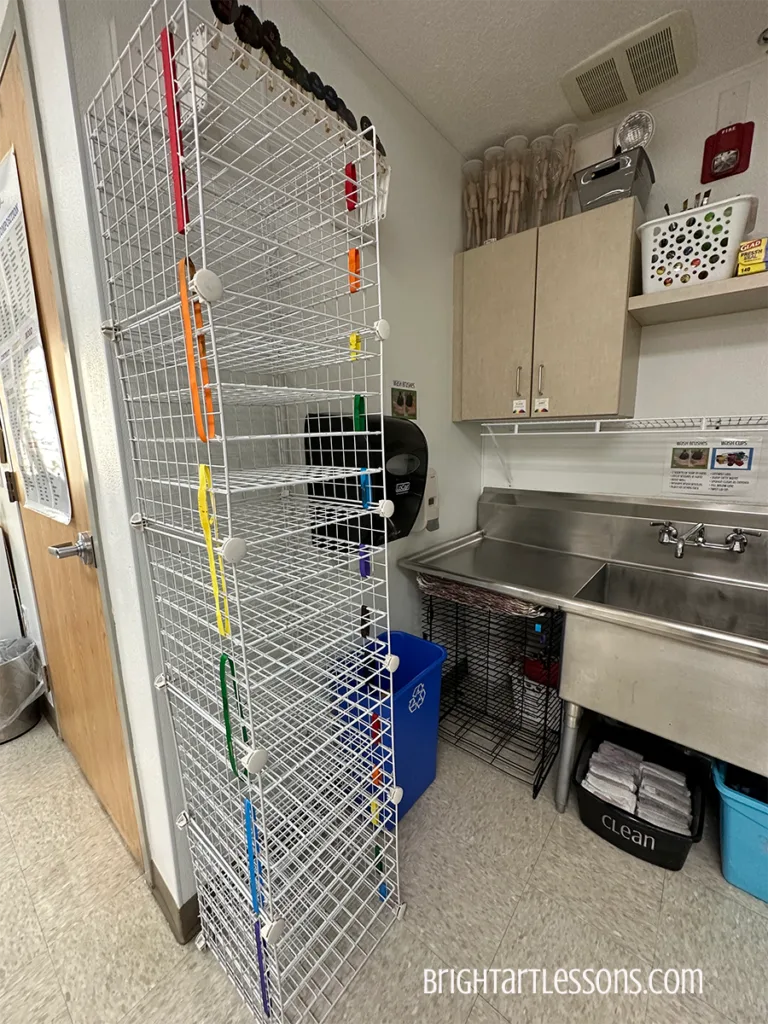
How do you store wet artwork? Assign 4 rungs on each drying rack to coordinate with the table number and colors when I pull out the class folders; the red table goes in the no. 1 folders, and so forth. It doesn’t matter the order in the folder; the students can sort out the four pieces in the folder later. You can quickly find a student’s artwork in the table folder. Use ribbon to loop around the rack and hot glue.
4. Color Code Art Lesson Notebooks
Notebooks store my lesson plans and supportive project ideas. Each binder is color coded to be easily recognized. Continuous color coding makes it easy for substitutes to carry through lesson plans and find materials. I added a binder label to identify each grade.
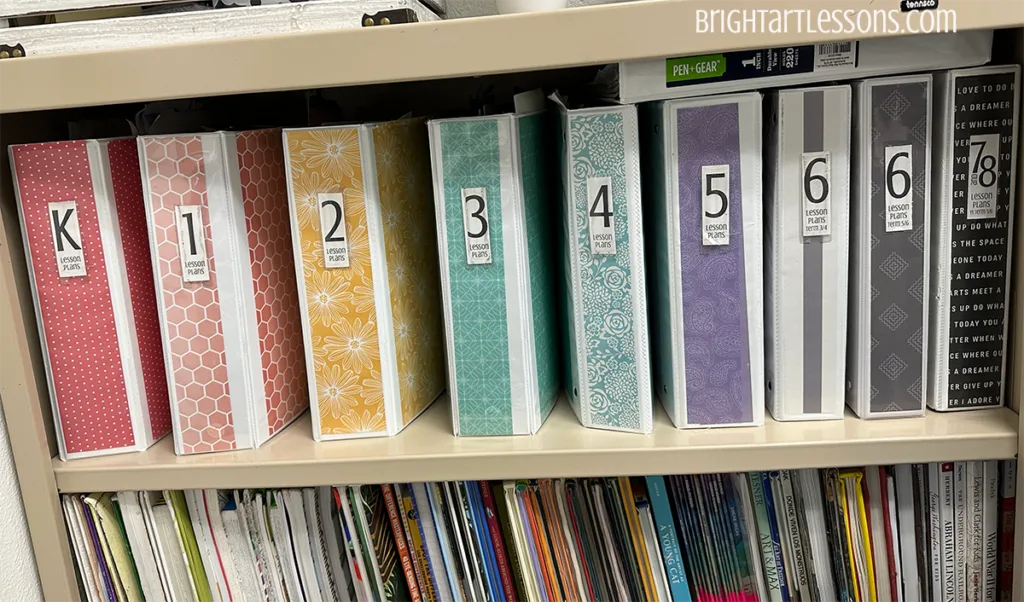
5. Color Code Art Literature
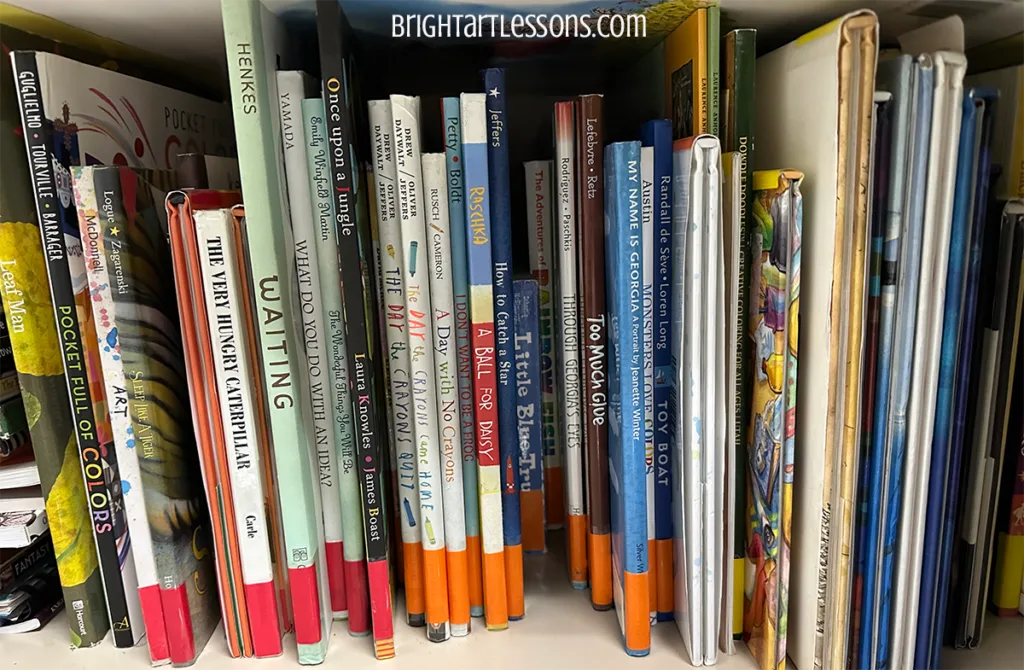
Anyone can read any of the books on my shelf, but I added a color book label to help me find literature I use in grade-specific art lessons. Then I only have to look through a few books, not the full bookshelf. I add a piece of book tape over the label so it doesn’t peel off.
6. Color Code Student Worktables
Transformed paint chips cut out into numbers label the art tables. The tables in my room are numbered 1 – 8. I’ve used red, orange, yellow, green, blue, purple, brown, and black for tables 1-8. I use a Silhouette Cameo to dye-cut the numbers and recommend investing in one for other projects!
