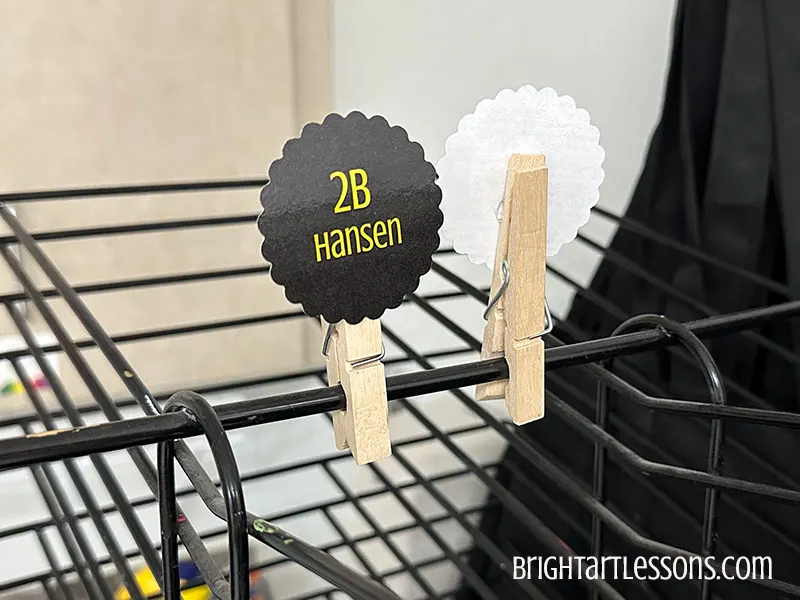
Labeling classes and teachers can feel overwhelming. You can mark two ways: assigning class codes that don’t matter who the teacher is or adding a teacher’s name. Either way, I like to have two forms of teacher labels for storing projects we’re still working on labeling artwork on the drying racks and for clipping lesson materials I’ve pulled.
Labeling Classes Tips
- I make my labels by printing an 8.5×11 file on card stock.
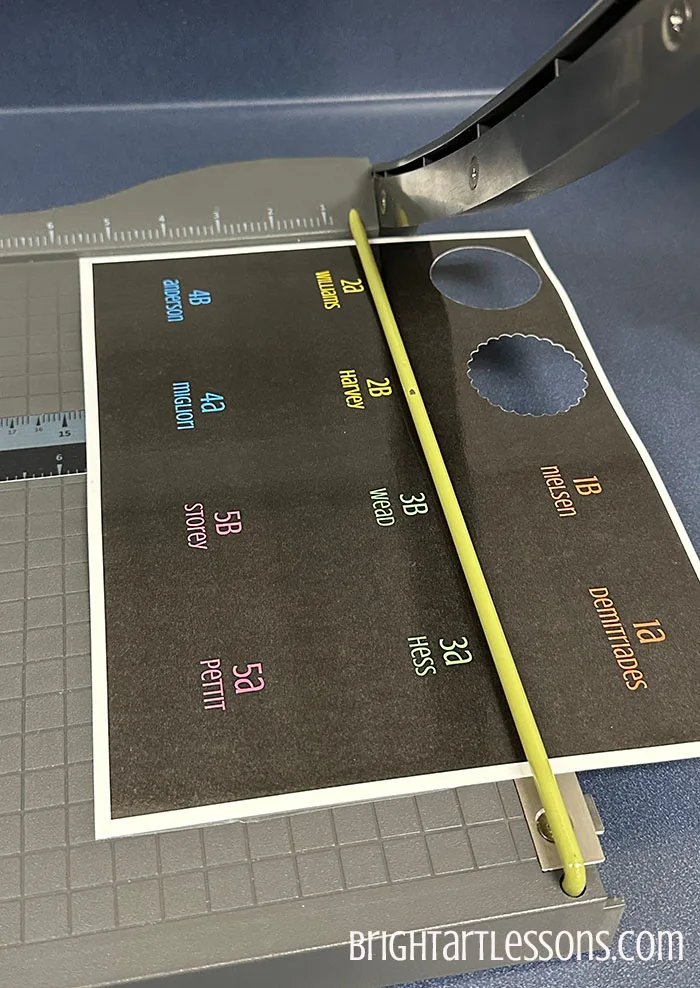
- Laminate the page(s).
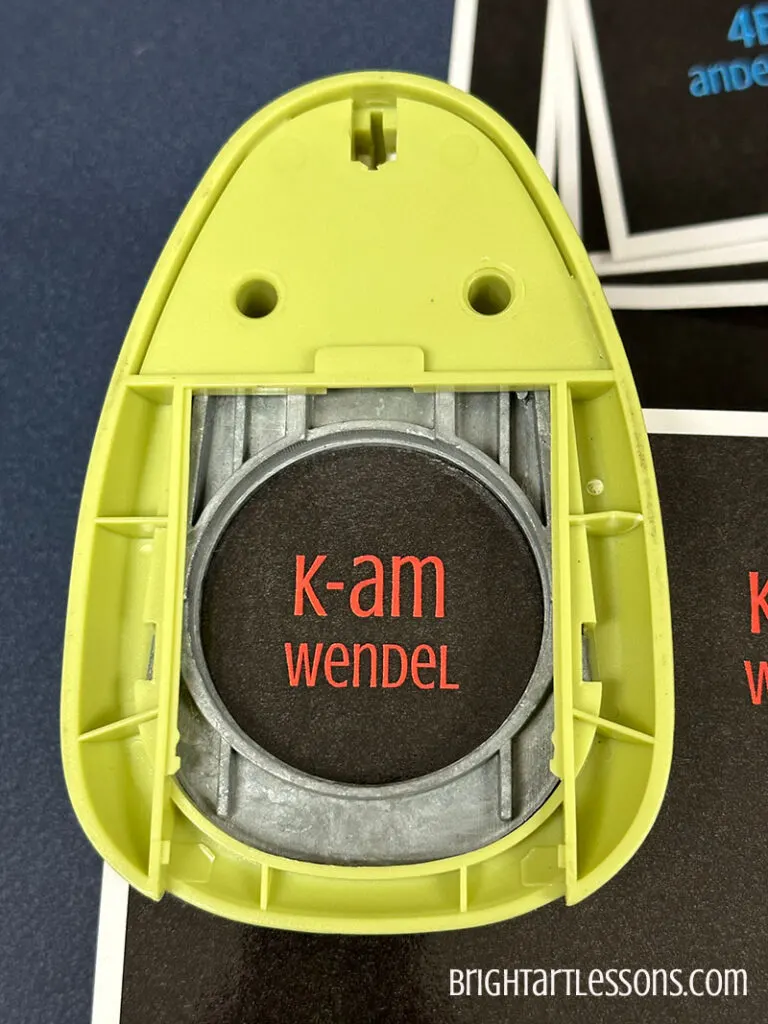
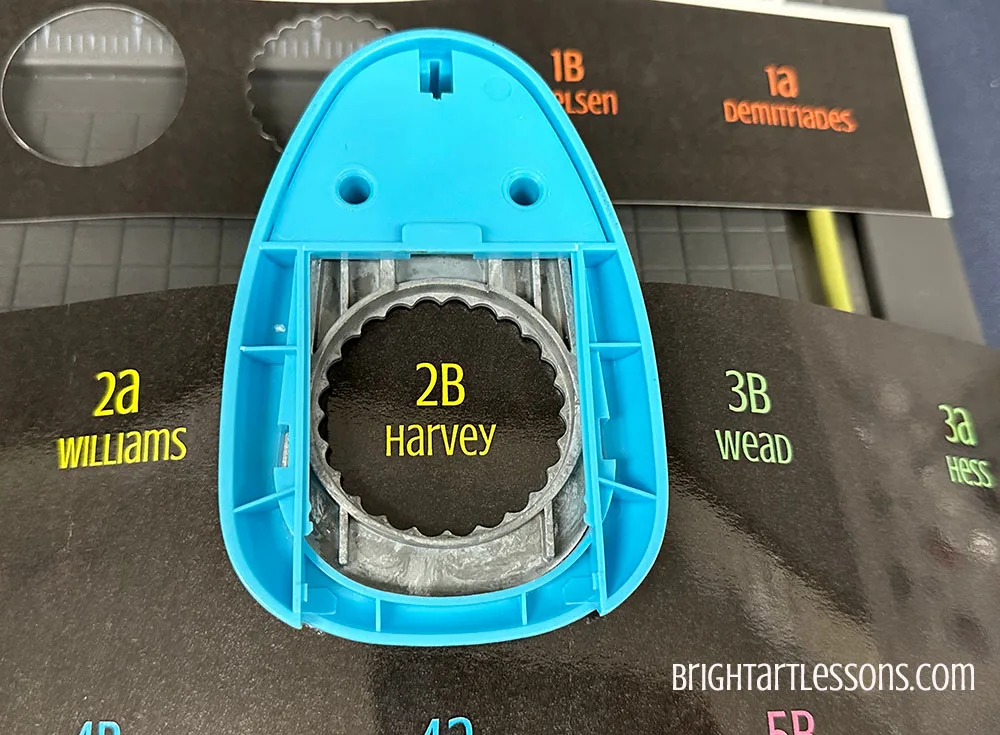
- Use a 2-inch circle cutter or a 2-inch scalloped circle cutter to cut the shape.
- Turn the circle puncher upside down to see where the type is centered.
- Once you cut the top row, trim the paper so the circle cutter fits correctly to punch the next row.
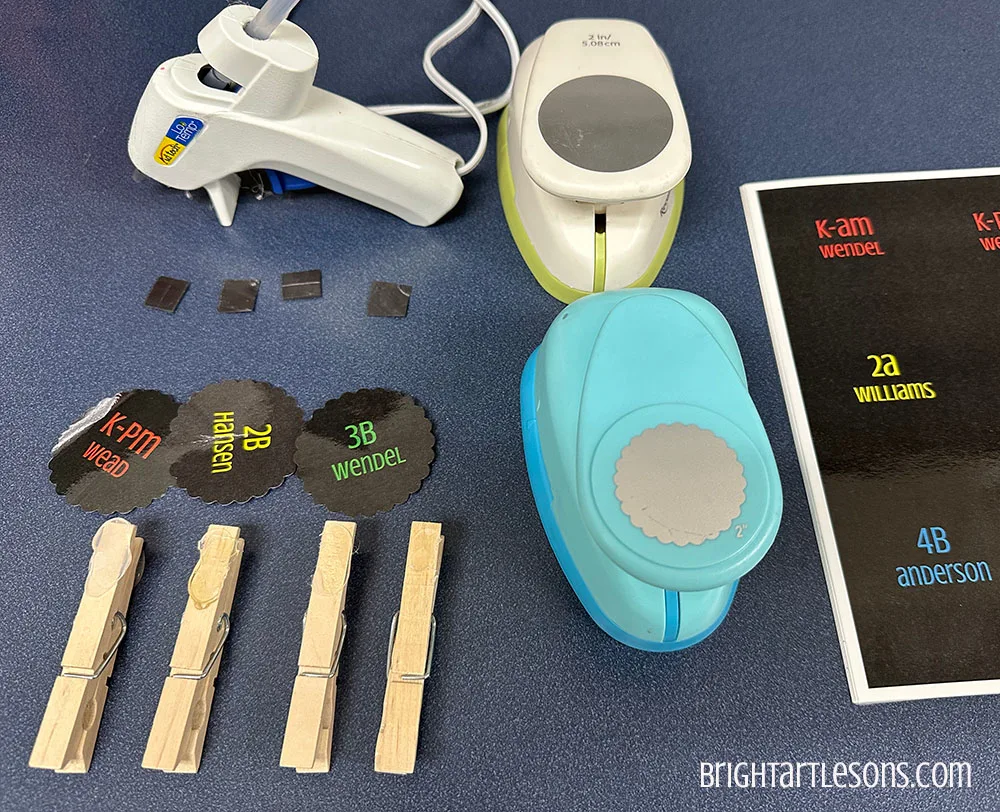
- Use magnetic squares or circles on the back. (I use these on my metal magazine holders for the class table folders.)
- Hot glue the punched label to a clothespin. (I used these to clip onto the drying rack or lesson materials. I have two sets in the art room.)
Supplies Needed to Make Class Labels
- Hot glue gun
- Hot glue sticks
- 2-inch circle cutter
- 2-inch scalloped circle
- Paper trimmer
- Clothes pins plain or colored clothes pins
- Magnetic squares, circles, or sheets