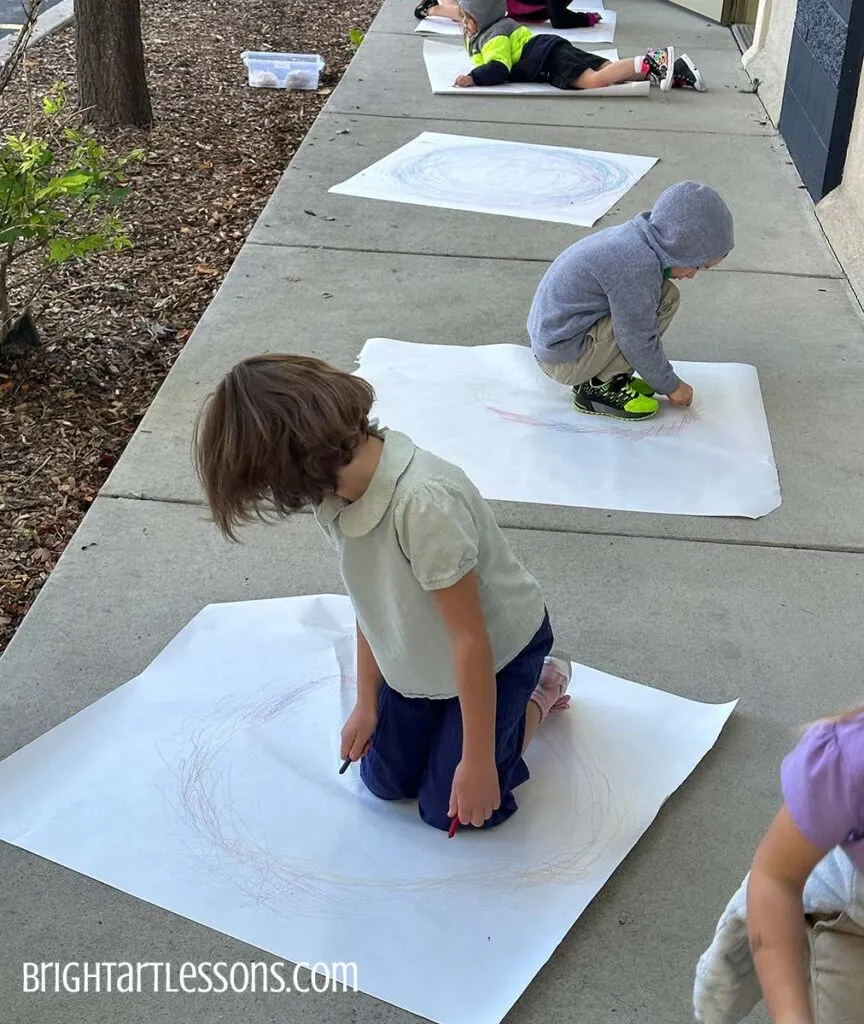
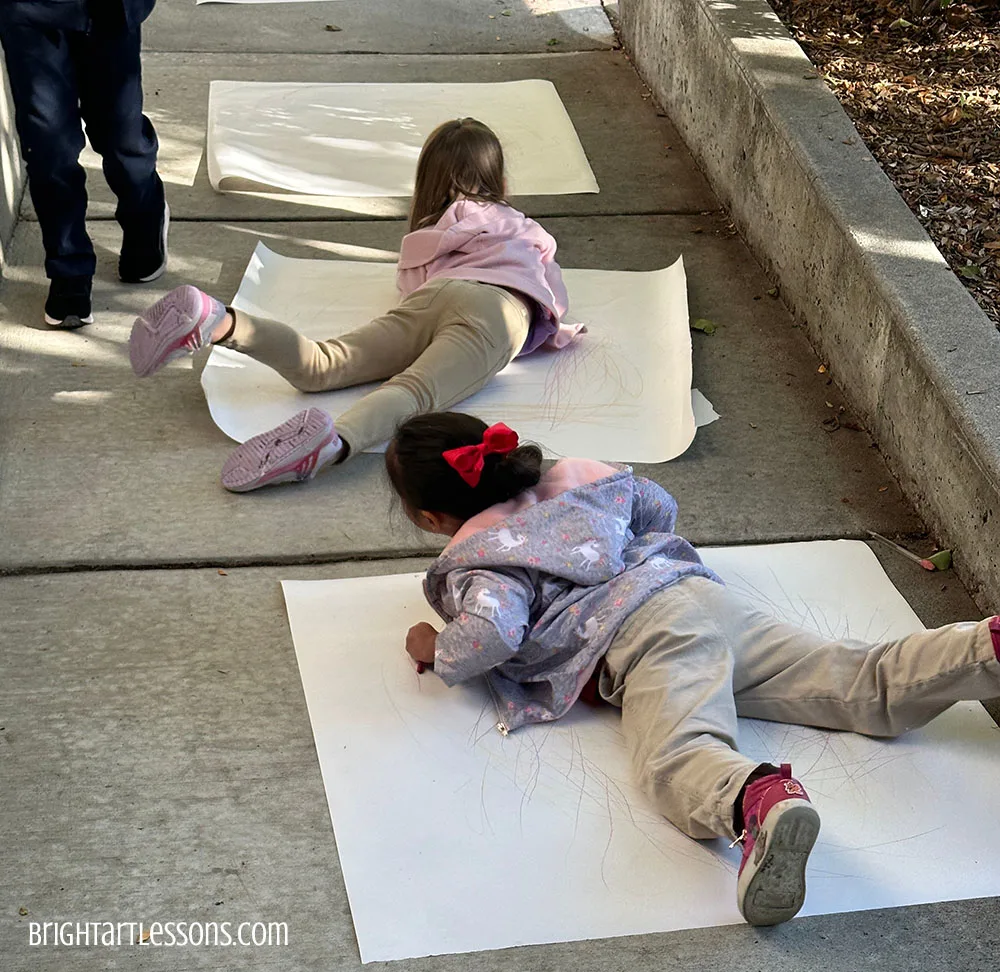
How do you engage young students in movement while making art? There’s no better way than for them to explore with their bodies creating Pendwall drawings. A Pendwall drawing is a series of drawings in which you use both sides of your body and through movement create art. I learned about the artist Tony Orrico and knew this would be an ideal lesson for Kindergarten. It can be adapted for 1st and 2nd graders too. This lesson takes 30 minutes, but you’ll need adult help! I enlist the aides to assist for the outdoor drawing time the last 20 minutes of the class.
I like to do this lesson following a literature-guided art project on identifying line movement using the book Freight Train by Donald Crews. You can find that lesson here.
This large-scale project is best done outside or in the gym. Begin in your classroom, and then move to the designated area that will be best for students to work.
Lesson Prep
Get a student count for each class and then prepare the following:
- Peeled crayons (3-4 gallon Zip-Lock bags)
- Student name label stickers for Avery Template 5160 (30/sheet) – Ask core teacher to print label sheet for you 1 week in advance.
- Butcher paper pre-cut in white in square shape (roll for each class & label w/Post-it-Note)
- Rubber bands (put handful in 3-4 sandwich bags)
- Project label stickers – Avery Template 5160 (30/sheet)
Lesson Overview
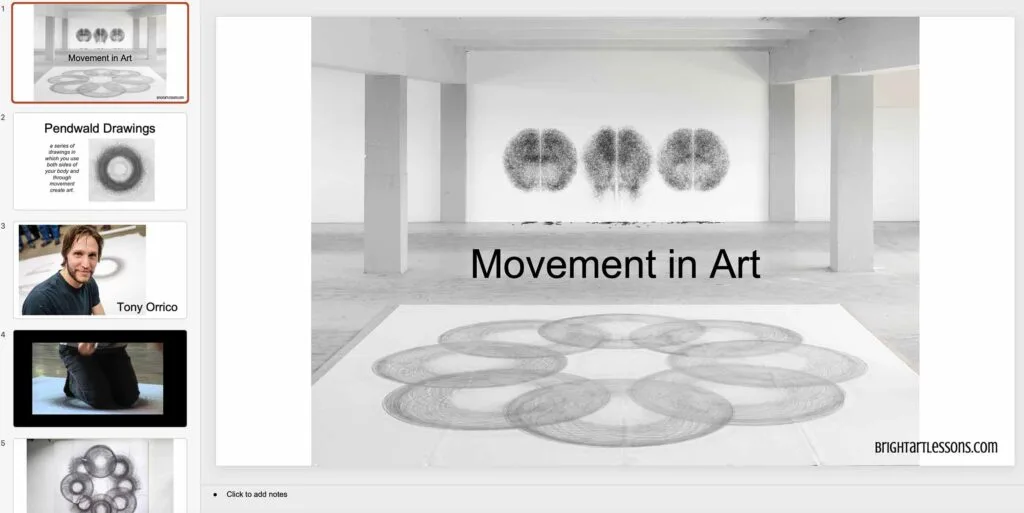
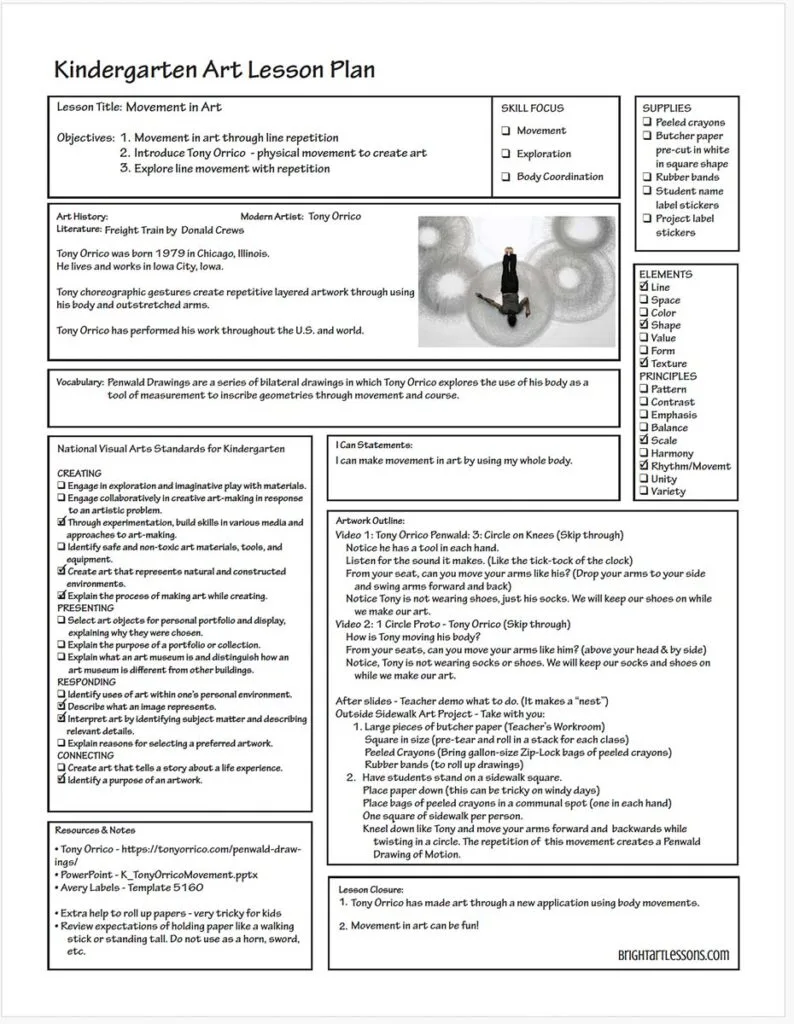
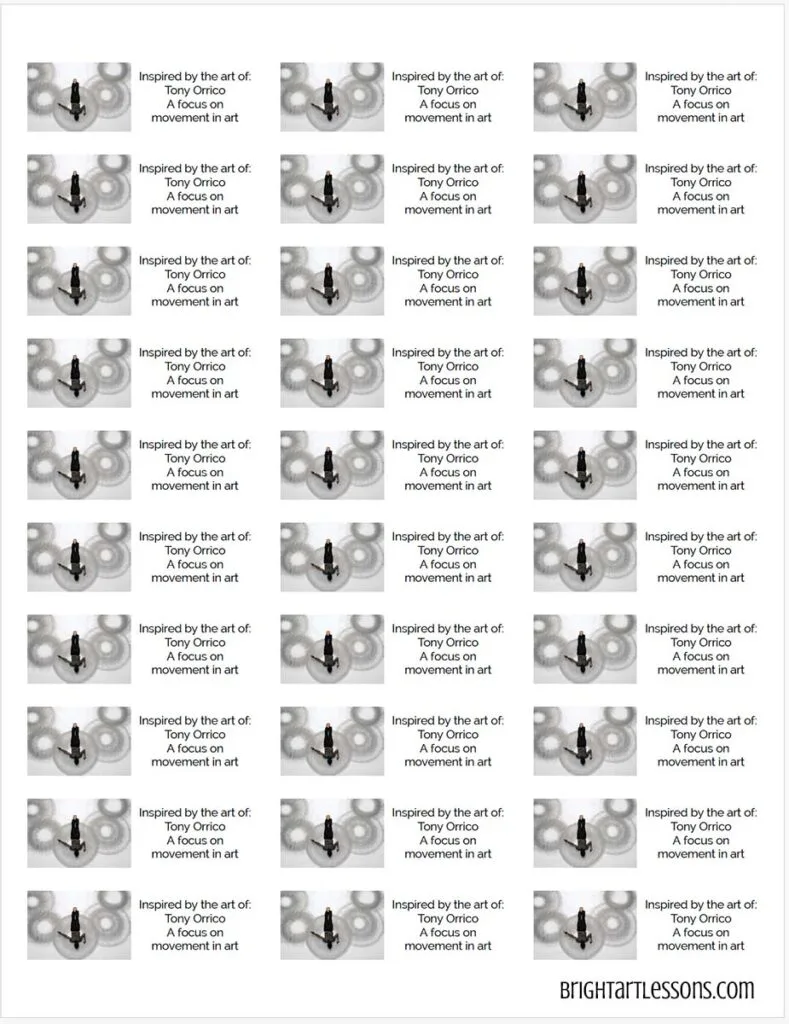
Follow the lesson plan for full details. Download lesson here. Aritst Spotlight: Learn more about Tony Orrico here:
There are links and prompt at the bottom of each slide in the PowerPoint presentation. Click here for the zip file including the lesson plan, PowerPoint, and Avery project labels.
Point it out – Help student observe HOW Tony Orico moves his body. How does he move his legs? How does he move his arms. Instead of moving your wrist and fingers to write your name, we’ll use our whole arms. While you skip through the two videos in the slideshow (they’re isn’t time to watch them in real-time) point out the following details:
Video 1: Tony Orrico Penwald: 3: Circle on Knees (Skip through)
- Notice Tony has a tool in each hand.
- Listen for the sound Tony makes while he turns in a circle moving his arms. (Like the tick-tock of the clock)
- From your seat, can you move your arms like his? (Drop your arms to your side and swing arms forward and back.) Walk around the room showing them.
- Notice Tony is not wearing shoes, just his socks. We will keep our shoes on while we make our art.
Video 2: 1 Circle Proto – Tony Orrico (Skip through)
- How is Tony moving his body? (He’s on his tummy this time.)
- From your seats, can you move your arms like him? (Move arms above head and drop down by your side.)
- Notice, Tony is not wearing socks or shoes. We will keep our socks and shoes on while we make our art today.
Discuss other ways Tony moves his body to create drawings.
After slides – Teacher demo what to do to make a pendwall drawing or a color “nest”. Choose two peeled crayons holding one in each hand, kneel on the paper, swing your arms back and forth while you turn your body in a circle by moving your feet slowly. Once you’ve gone around at least once, change the colors and repeat.
Take outside with you: Rolled large pieces of pre-cut butcher paper, peeled crayons (Bring gallon-size Zip-Lock bags of peeled crayons), Rubber bands (to roll up drawings), printed labels of student’s names and project reminder.
Lessons Learned
I’ve done this lesson for many years and have learned some crucial keys to make it successful in such a short amount of time. Here are some lessons learned to make your experience smoother:
- Set students up for success by going over expectations before you leave the classroom. Review: When we walk outside I need you to find a square to stand on. We will not go where the cars park. We will draw on our paper, not on the sidewalk or building. We will draw on one side, you can draw on the other at home. You can change your crayons as many times as you want. Move around in a circle to make a beautiful line movement. We will help you roll up your paper and put stickers with your name and art project on them.
- Enlist adult help! It’s okay to ask for help and you’ll need it to lay out the butcher paper, support students who are timid, redirect students who are struggling following directions, roll up the butcher paper and put stickers on the rolled projects.
- When you walk students outside, ask them to stand on a sidewalk square.
- Pass out one butcher paper per student. (Divide the stack between adults to pass out to students faster. If it’s not windy, someone can set out the papers before students arrive, but I’ve found it can be more of a hastle.)
- Set gallon-size Zip-lock bags of peeled crayons in communal areas for students to switch as desired.
- Encourage students to choose a crayon for each hand.
- Reinforce directions by positively praising students who are on their knees or tummies moving their bodies in a circle motion. “Kate – Great job moving your arms back and forth! You’re making the same sound as Tony was making!” “John – You’re making great lines by moving you body around in a circle.”
- When it’s time to clean up, have two adults roll the butcher paper. Put a bag of rubber bands in your pocket so it’s easy to secure.
- Have one adult ready with a sticker of the student’s names and a sticker of the art lesson (included in zip file).
- If walking back to the classroom, demonstrate how you will walk with the tubes in your hand. The tubes will be tall up and down.
- Place the rolled paper in students backpacks ready to take home. They stick out, but are stored ready-to-go.
Extra Student Support Options
Most students are thrilled to jump in and explore this art project. For students who are more timid, they may need support by altering the lesson in the following ways:
- Walk with them to observe peers
- Practice arm movement before holding crayons and drawing on the paper
- kneel on the ground and practice turning in a circle
- Offer them more space or spread them out a little more
- Make the artwork together
- If student isn’t willing to try, offer to roll up the paper and put their name on it and they can try it at home.