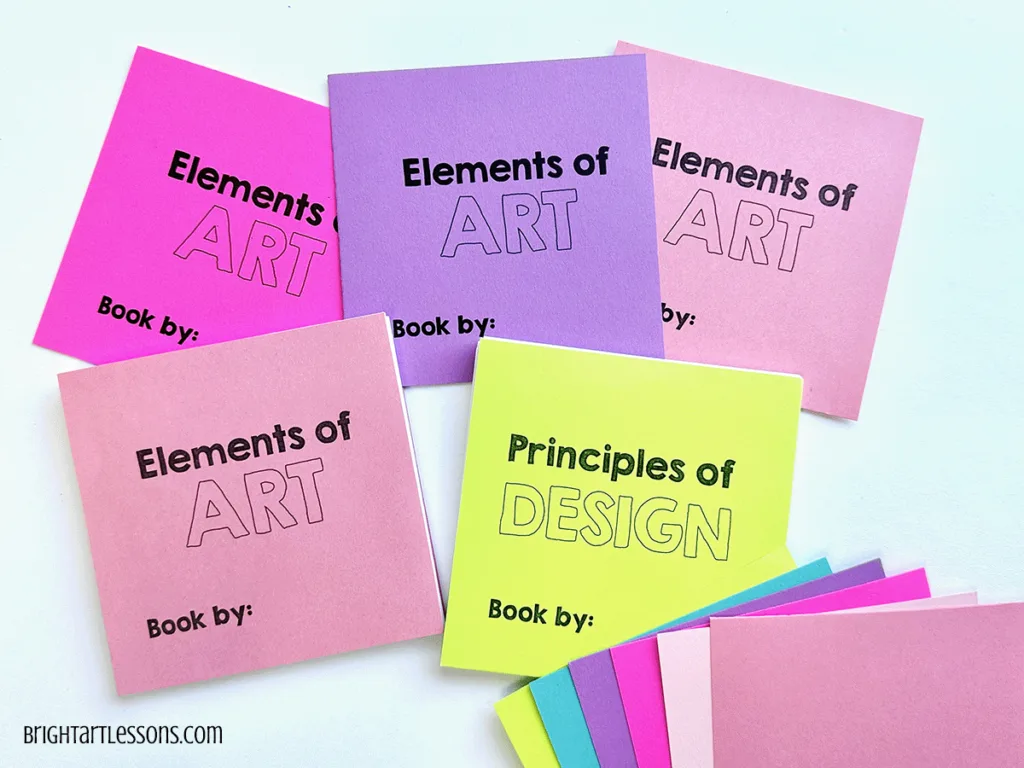
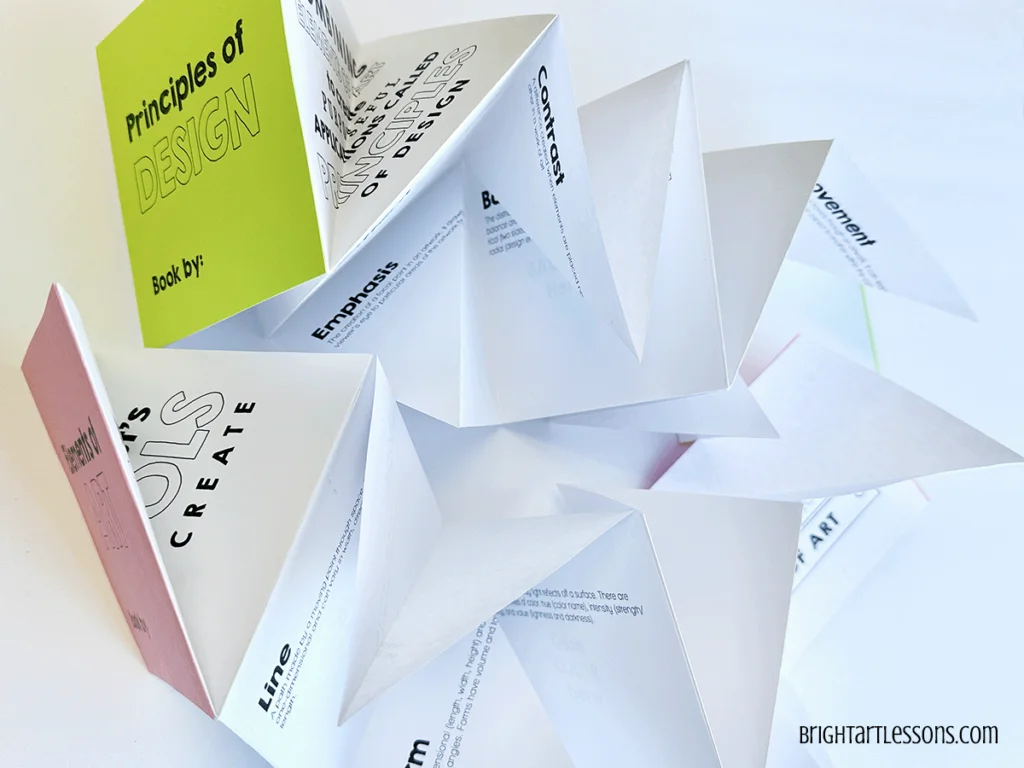
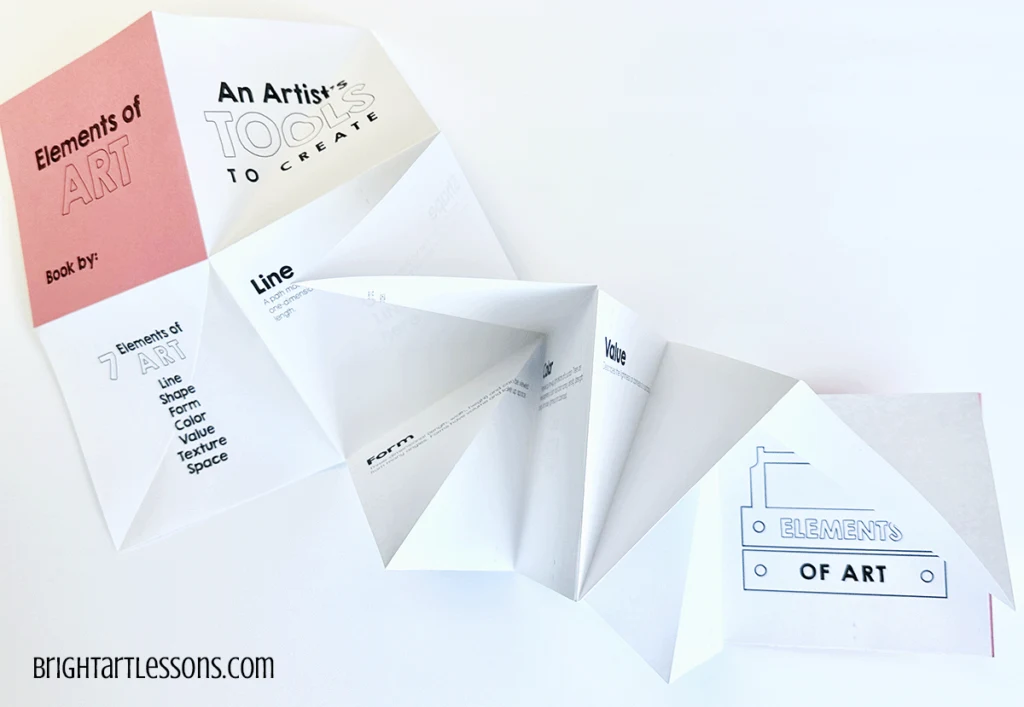
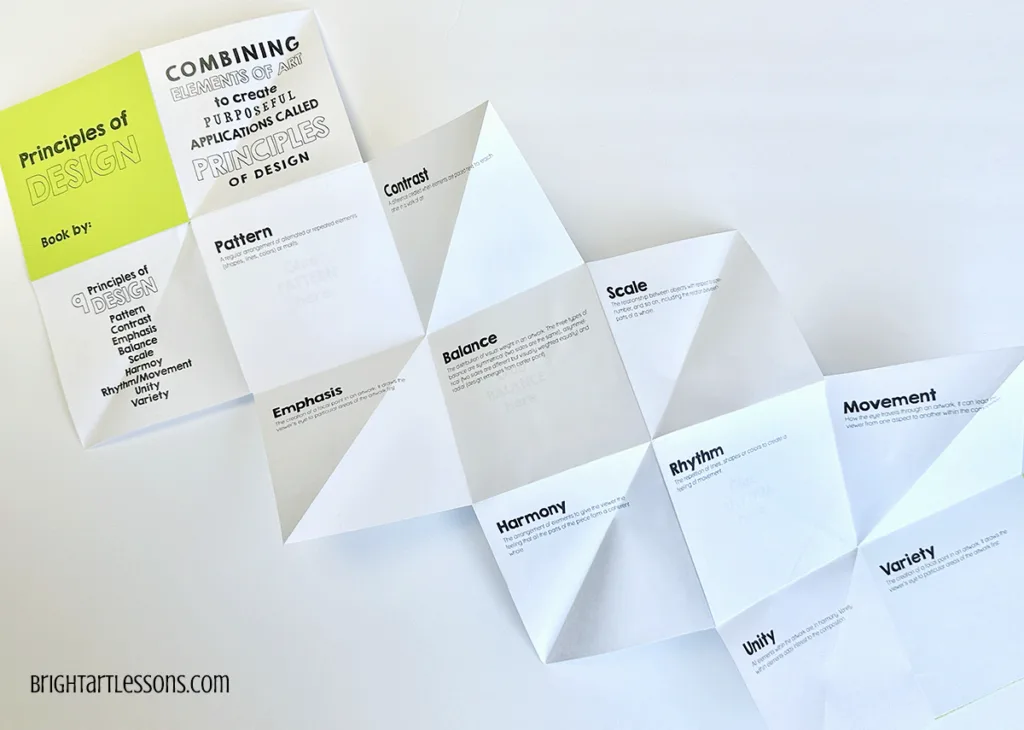
This is a fun way for students to learn basic book folding techniques while applying what they know about the Elements of Art and Principles of Design. With a bit of patience and practice, they’ll get the fold and find satisfaction and a smile with their final book. Download the pdf file here.


Printing Instructions
- Pages 1 & 6 should be printed on card stock – the covers. There are 4 covers on each page.
- Cut book backs the same size as the covers out of card stock. (They can be the same color or different.)
- Pages 1 – 5 are the Elements of Art cover and inside pages.
- Pages 6 – 10 are the Principles of Design cover and inside pages.
- Print all pages to be folded on regular copy-weight white paper. (Pages 2-5 and 7-11)
- Print the file single-sided.
- There is a practice sheet at the end (page 11) with cutting and folding instructions for the students to try before applying the actual pages to their books.
Project Supplies
- Colored card stock
- White copy paper
- Paper cutter or scissors
- Glue stick
- Markers – fine-point
- Colored pencils
- Magazines
Project Instructions
- Each book needs 1 cover and 1 back .
- Trim the inside pages to be square.
- Practice folding the paper on the example page before folding the actual pages.
- Glue the matching title to the space that indicates the same element or principle.
- Practice opening and closing the book. It should be a square when finshed.
- Draw or find examples in magazines of the Elements or Principles listed in each square.
- Optional Tie – Add a thin piece of twine or ribbon by sandwiching between the last page and the back cover. Cut 15-20 inch long pieces if you wish to tie a bow on top to keep the book from popping open.