Spider artwork? Yes! Along with the fall season, spiders are a great theme to explore. Teach this lesson with Yayoi Kusama’s pumpkins as a juxtaposition of female artists’ childhood dreams of becoming artists and how they each pursued their dreams. These two lessons – Kusama and Bourgeouis’, back-to-back can be taught in two 50-minute class periods. Finish the project from the previous week at the beginning of this class.
Finish Kusama Pumpkins
Kusama Project Review: Review with students who Yayoi Kusama was – she wanted to be an artist, but her mother discouraged her. What shape did she love? (Dots!) The dots reminded her of the pebbles at the bottom of the river. Kusama used SCALE to apply different-sized dots to many things, including pumpkins. Today, we’ll finish our pumpkin project by gluing them to our background. See the full lesson HERE.
From Last Week: Both the printed pumpkins and backgrounds should be in table folders for easy distribution. Students who were absent, can select a pumpkin that has already been painted, choose a background, and add their design later. Have a selection of construction paper available for them to select a background and black and white crayons. Their name should go on the back of the paper.
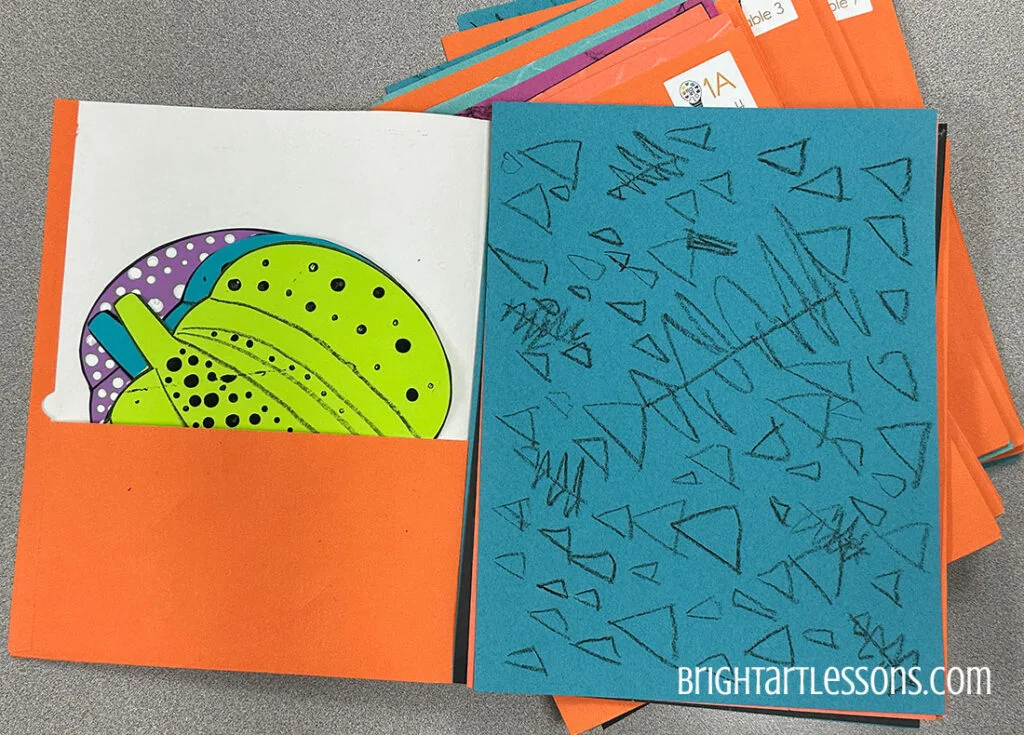
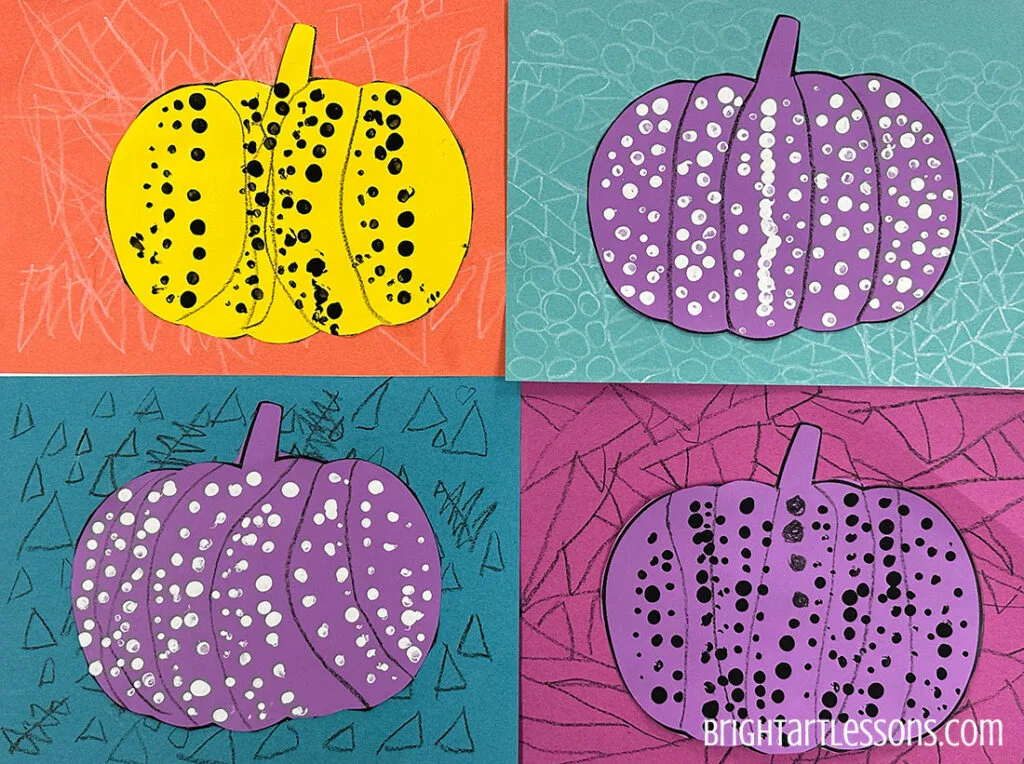
Glue-Stick Demonstration – Review how to use a glue stick:
- Twist the glue so it’s just above the lip of the stick. If you twist it too high, it will break and make a mess.
- Turn the pumpkin over and go around the perimeter of the pumpkin – the outside of the pumpkin – then make some swirls or circles in the middle of the pumpkin. Notice I’ve put the glue on the pumpkin and not on the background paper, helping my pumpkin stick and stay in place better.
- Twist the glue below the top of the stick – helping the lid not get glued shut to the stick – and replace the lid.
Make sure names are on the back of the pumpkins and park at the top of the desk. (If it’s too much of a distraction, return artwork to table folders or collect.)
Louis Bourgeois – Spiders
Contrast the support of Louis’ mother’s encouragment to create art and be an artist from Kusama’s experience. Define SCALE in art as it compares to humans. Some students might be scared of spiders, making a kind and friendly spider can reduce the fear. Follow the lesson plan and pptx. Download the lesson, pptx, spider leg template, and Avery labels HERE.
Teacher Prep:
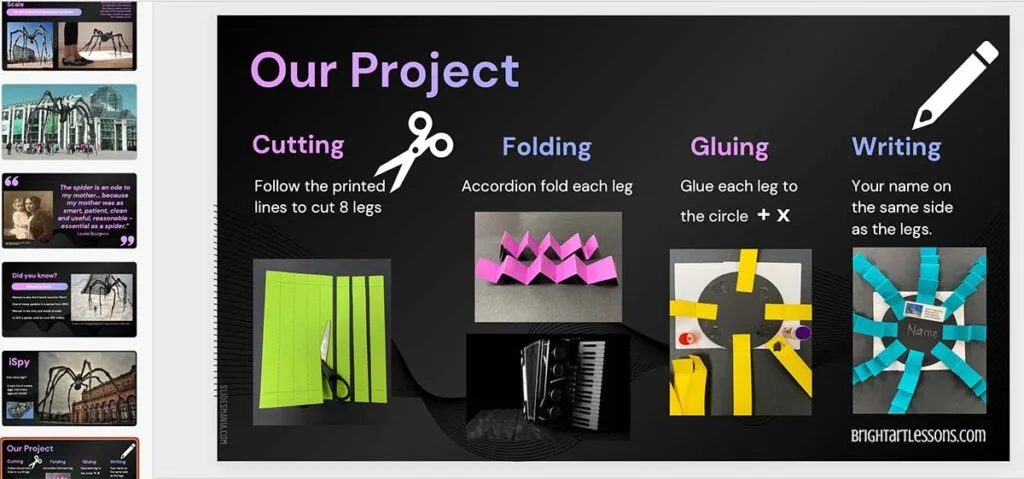
- Cut 5-inch circles out of black card stock (2 per page). Save the scraps for punching out additional circles for other projects.
- Glue 2 Lg – X-Large Googly Eyes to each circle. (Some might fall off, but the majority will stay put and save a lot of class time.)
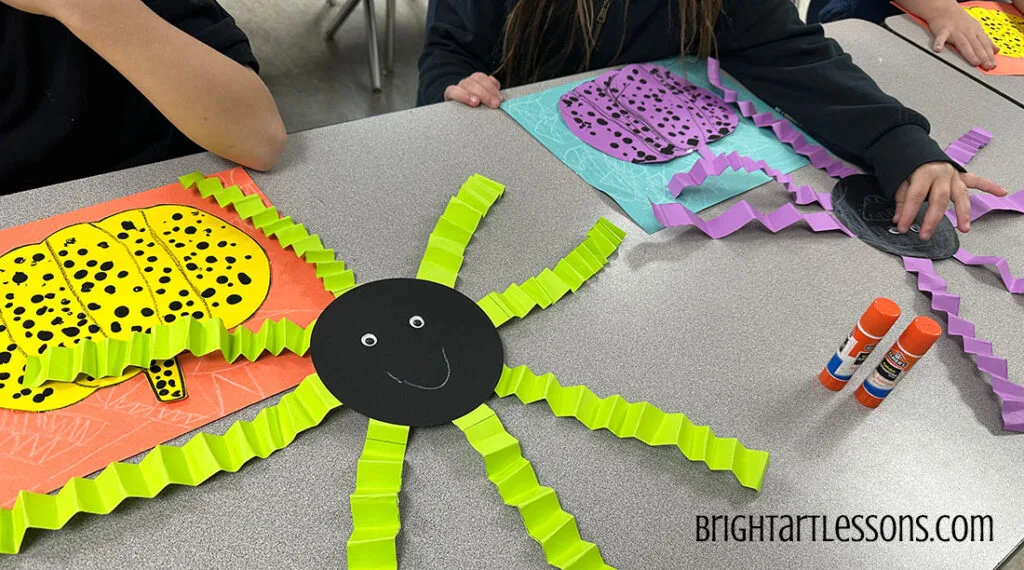
- Print spider leg template on colored card stock. Colors like hot pink, yellow, lime green, and purple are a great contrast to the black body.
Part I – Spider Legs
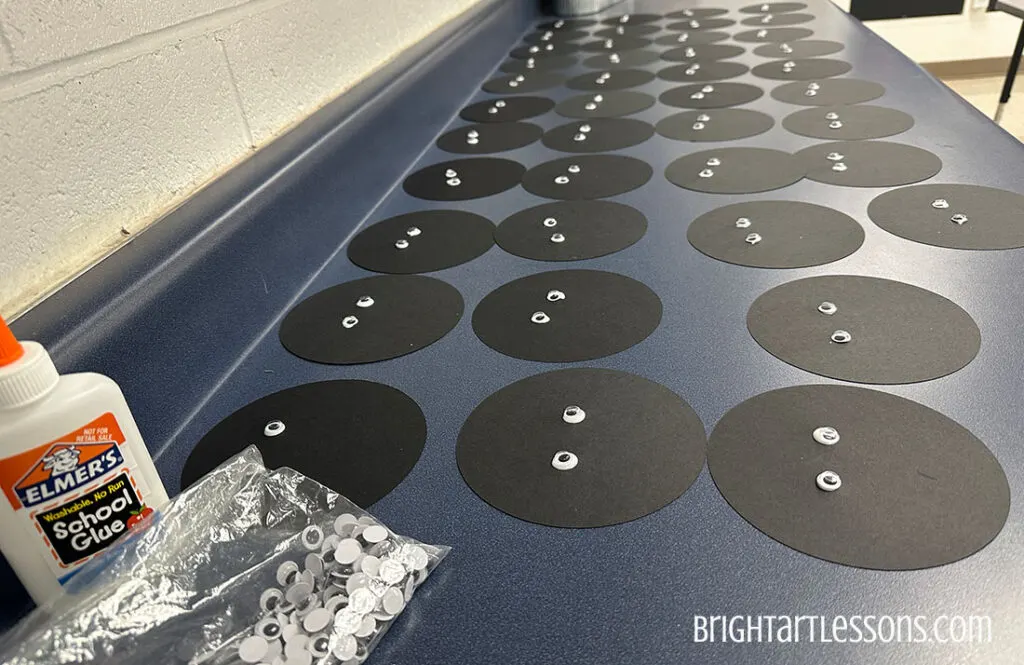
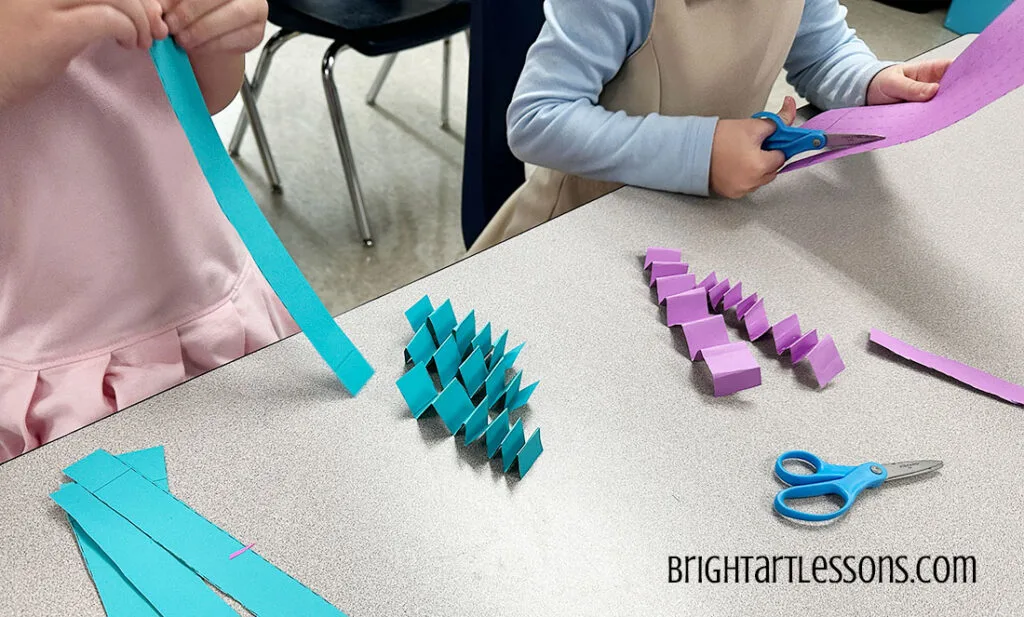
- Review Scissor Cutting. This isn’t a race. Suggest it might be easier to cut down the middle first. Our cutting goal is to close the sissors on the dotted line. Cut from the bottom of the page to the top. Do not cut the solid line off. We need it later. (Cutting review from last week.) You will need all the pieces. How many legs does a spider have? Eight – you will cut eight strips of paper.
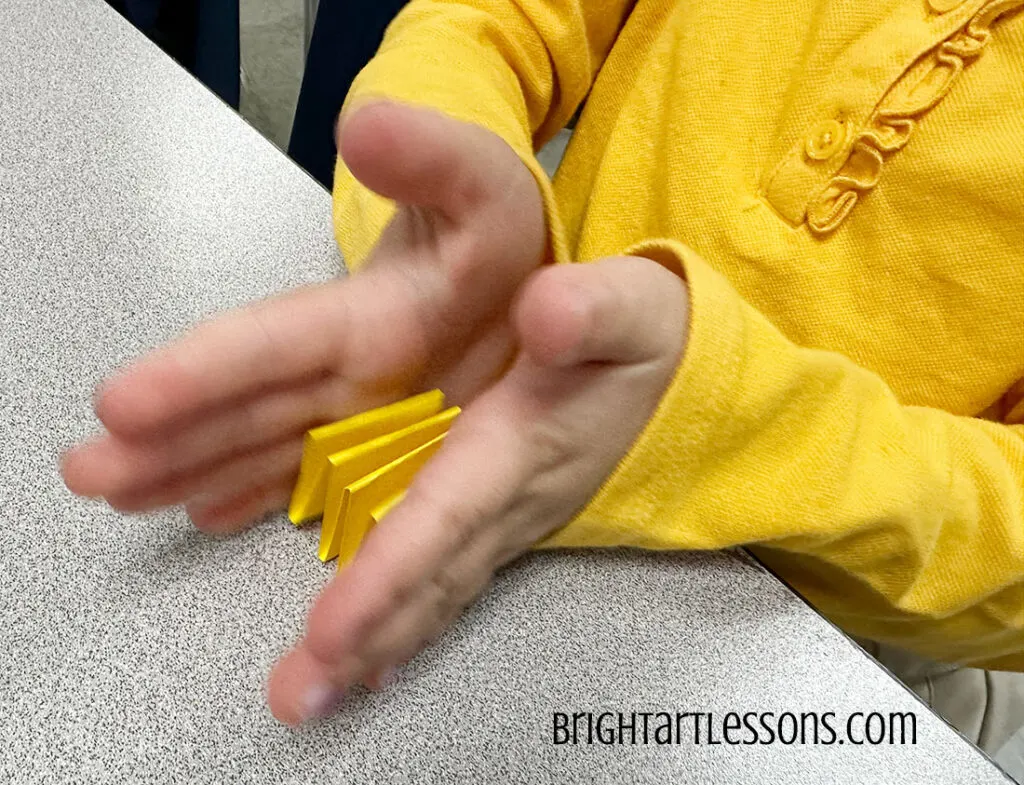
- Accordion Fold. This fold can be tricky for a lot of kids. The printed solid line gives you a starting point of where to fold. Explain that they will make mountains (peeks) and valleys (the fold that touches the table). The long leg will point away from your tummy and then towards your tummy – back and forth – not in a circle. When you squeeze the strip together, it will bloom like a spring and pop open. Practice this with each leg.
- Student Support. It’s vital to walk around the room and support students as needed. Praise those who do it correctly, and let them be the teacher to explain how to fold the paper to a peer, creating collaboration, trust and camaraderie.
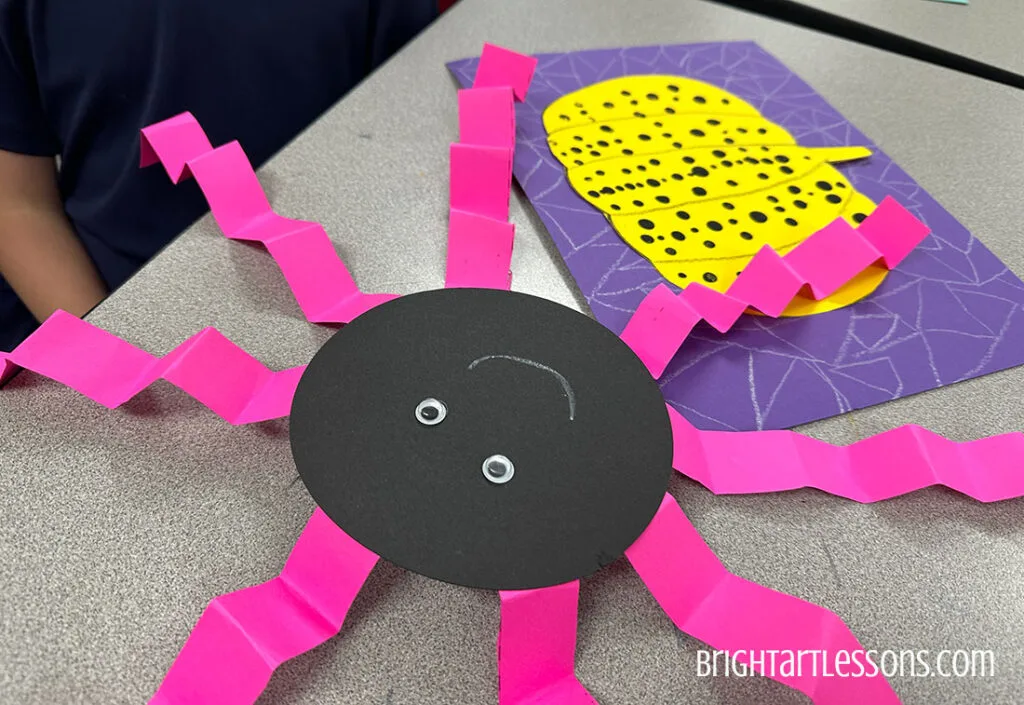
Part II – Gluing the Spider’s Legs
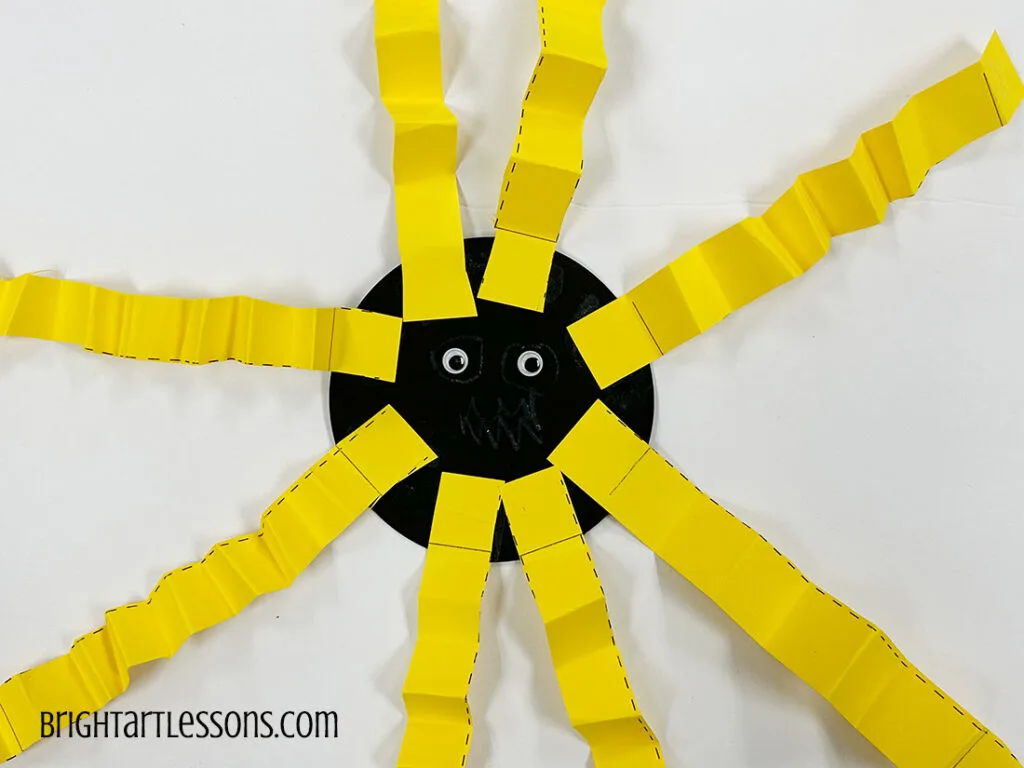
- Demonstrate incorrect and correct gluing (don’t glue on the side with the eyes; turn the spider over and glue on the back).
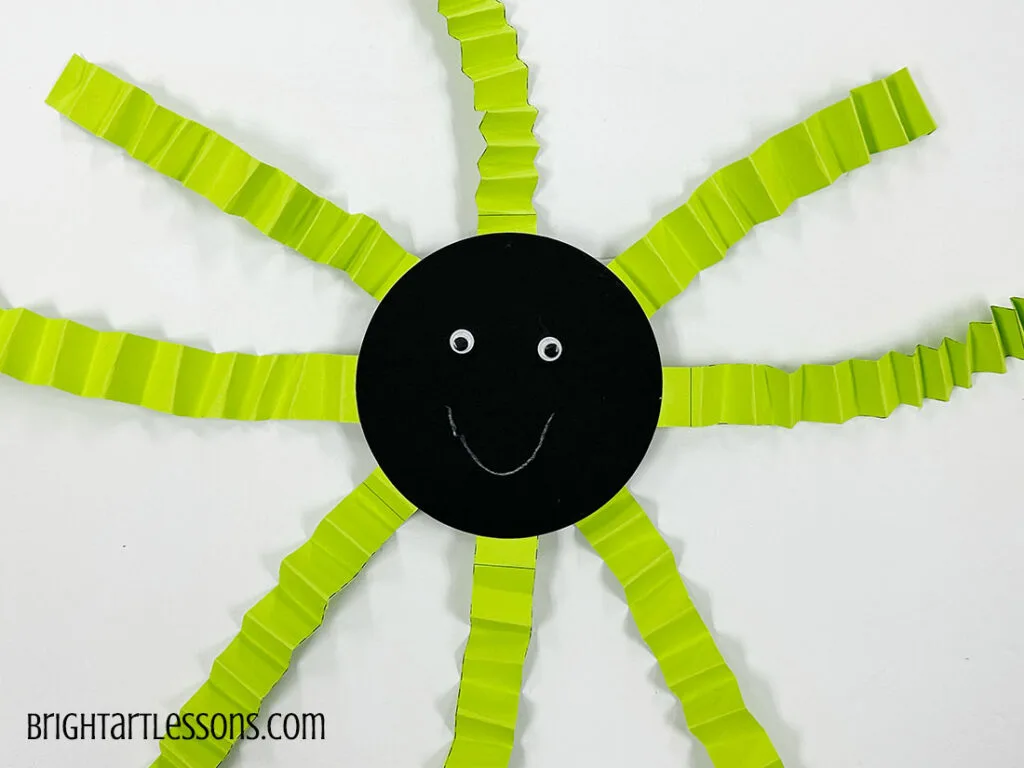
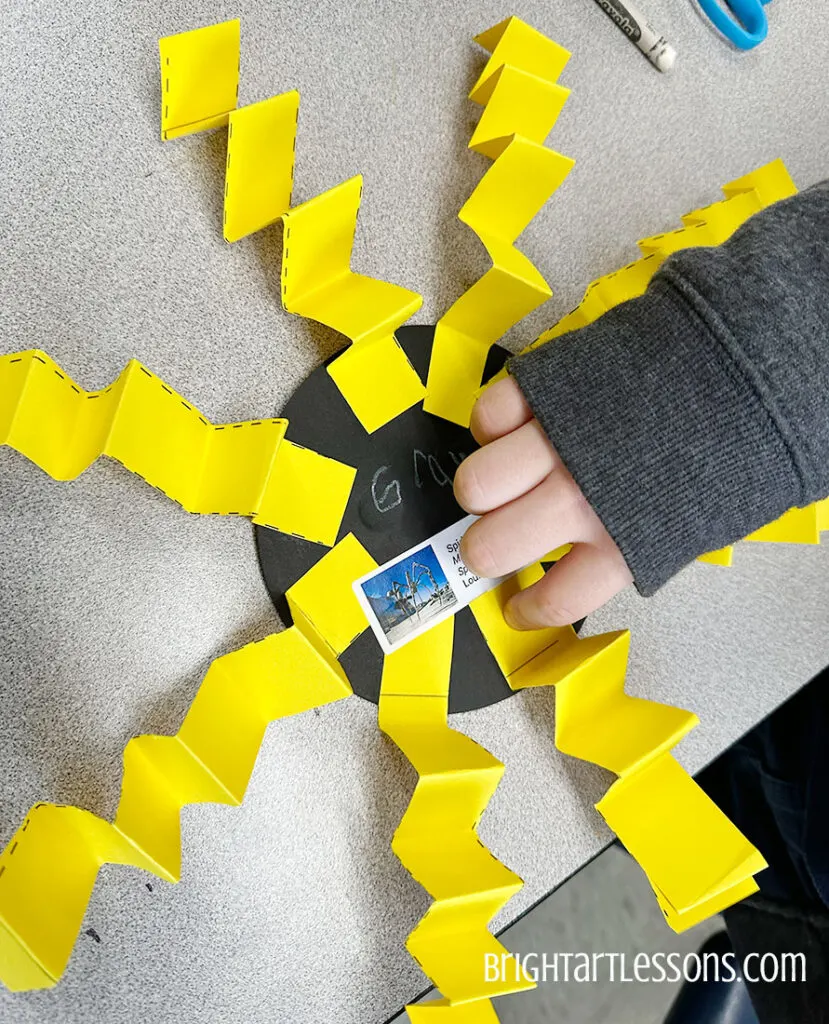
- Glue a + and then fill in a leg in between, making an x to balance out where to glue the legs.
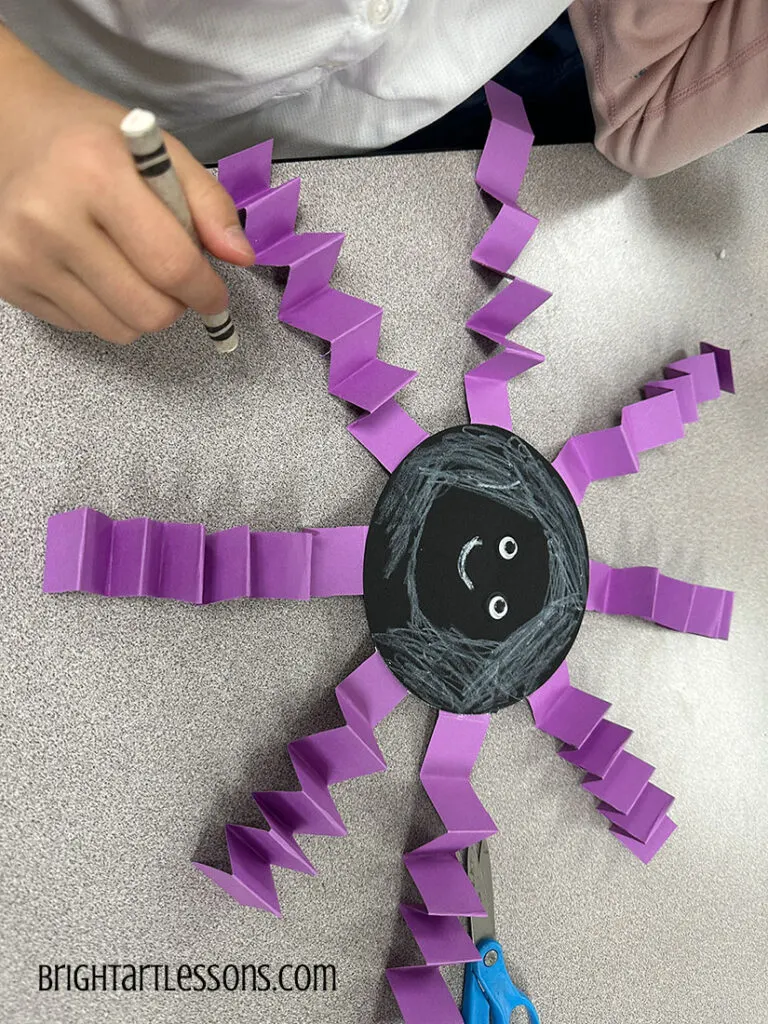
- Write your name on the back with a white crayon.
- Add an Avery lesson label.
- Add details to the spider’s face with a white crayon.
Early Finishers
Rarely do I have early finishers, but if you do, they can give support to students who are struggling with their spider. They may also help glue the dried pumpkins to the backgrounds of those students who are absent.
Read Aloud Literature
At the end of the pptx, I’ve included links for read aloud books about spiders that are kind and fun for the kids to listen to. The books are Be Nice To Spiders by Margaret Bloy Graham* and The Very Busy Spider by Eric Carle*. (*Both of these links are from BrightArtLessons.com Amazon Affiliate.)
Reward Image
If you are trying to encourage good class behavior, you can use a reward image to motivate students to follow your rules. Praise them often throughout the class. At the end, report what you observed they did well during class. For example, “I noticed today you did such an amazing job listening and following directions. Every time I rang the bell for your attention, you froze. I also observed how many of you helped a neighbor. You followed the art rules so well that I want to share with you a reward image.” Then, show the picture of the two Halloween costumes – spider and Kusama.
Displaying Spider Art
Add a string to the center of the spider to hang from the ceiling for an arial addition to the classroom. The legs hang down, and their friendly spiders add an element of fun and accomplishment. Ensure the knot is the nose so the face is visible when hung.
Adding the pumpkins to a bulletin board in the back creates another level of fall festivities in the room.