Should holiday crafts count as art? Celebrating traditions and holidays is fun, but should educational time be used to do so? I’ve felt that holiday projects can be done at home; art education is another level of teaching and shouldn’t be used for crafts. I recently read, “When art is relegated to creating stereotypical holiday decorations, it cannot fulfill its vital role in children’s creative growth” (Wachowiak & Clements, 2001. Emphasis art – a qualitative art program for elementary and middle schools. p. 9, para. 3). I like to incorporate art education in conjunction with coordinating traditions where applicable. In October, introducing Yayoi Kusama is a great way to use a fall theme of pumpkins while combining art skills and focusing on the element of Scale.
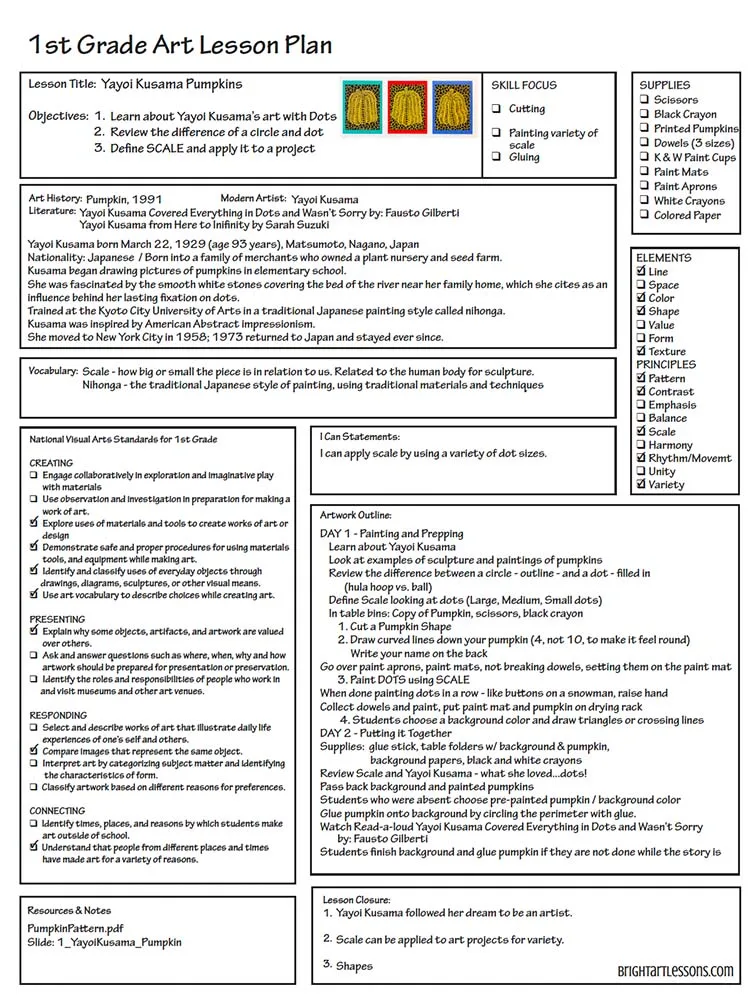
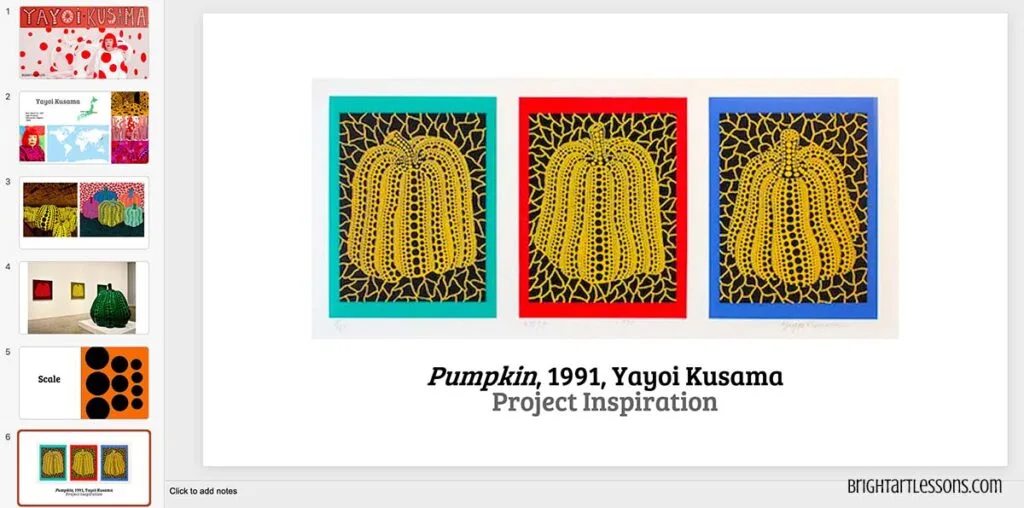
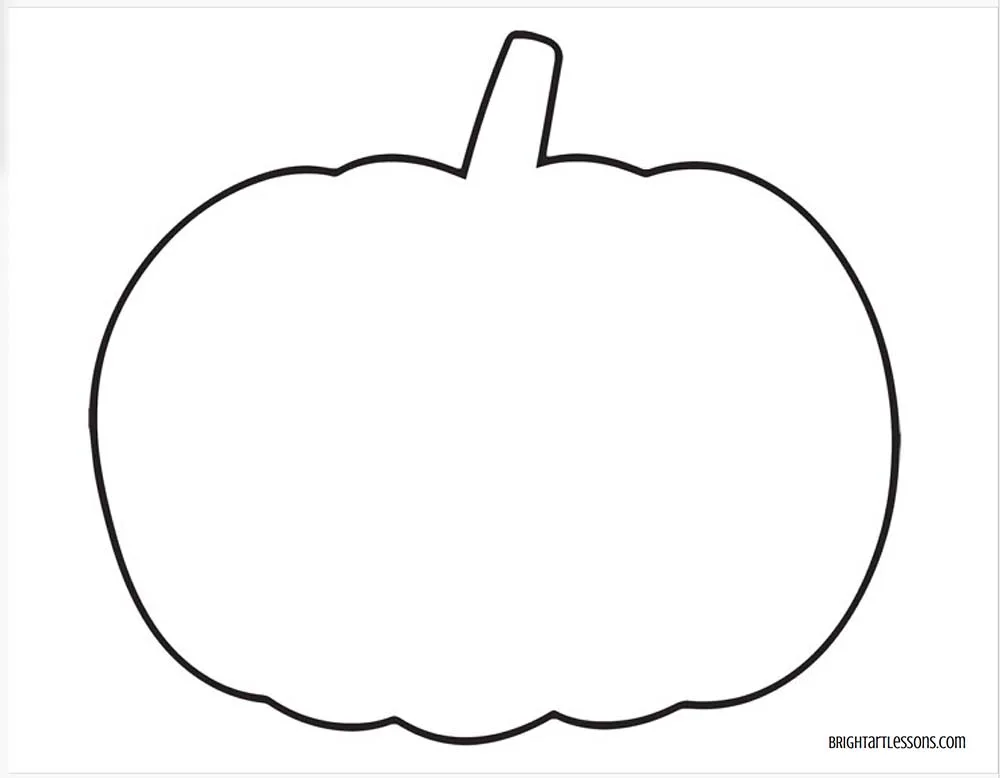
Download the Lesson outline, pptx, Pumpkin template, and Avery project labels.
Teacher Prep
- 1. Cut three widths of dowels in 6-8 inch lengths. Run a marker over the midde of each size for easy visual separation. For example, a red mark on the large, blue mark on the medium, and green mark on the small. NOTE: This only has to be done once. Purchase dowels at hardware or craft stores.
- 2. Print a pumpkin outline on card stock paper. I prefer printing on a few colors: hot pink, yellow, cyan and purple.
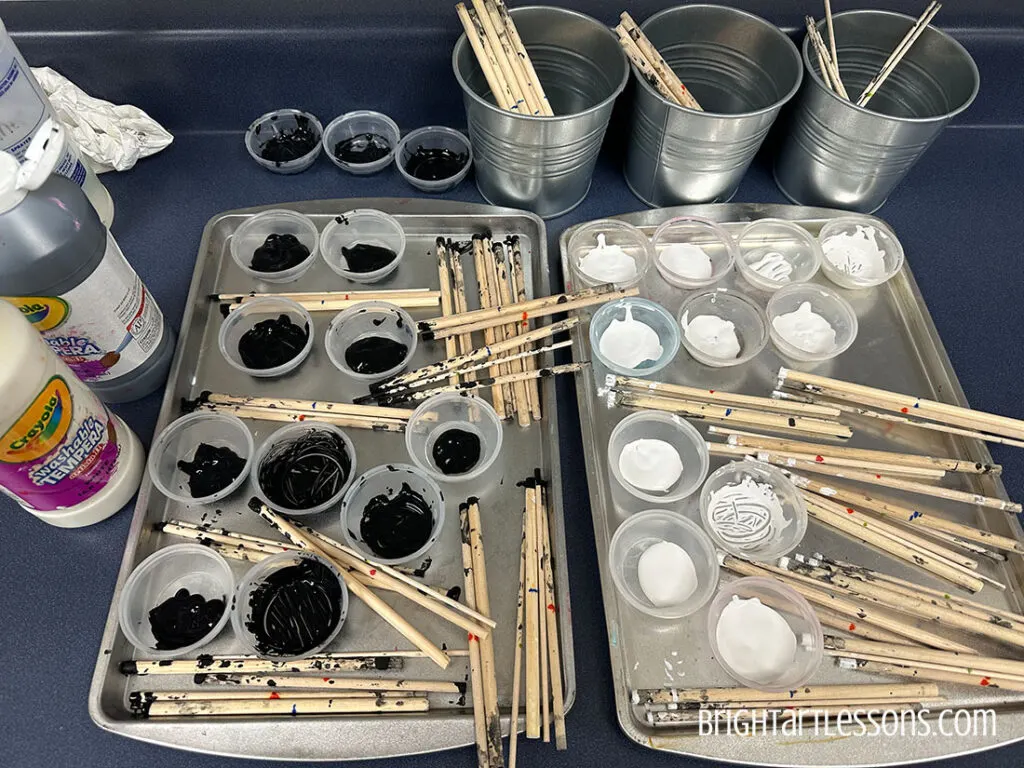
- 3. Have a small amount of black or white tempera paint in small cups. I like to have 15 of each for a class of 30 students. Refill for the next class.
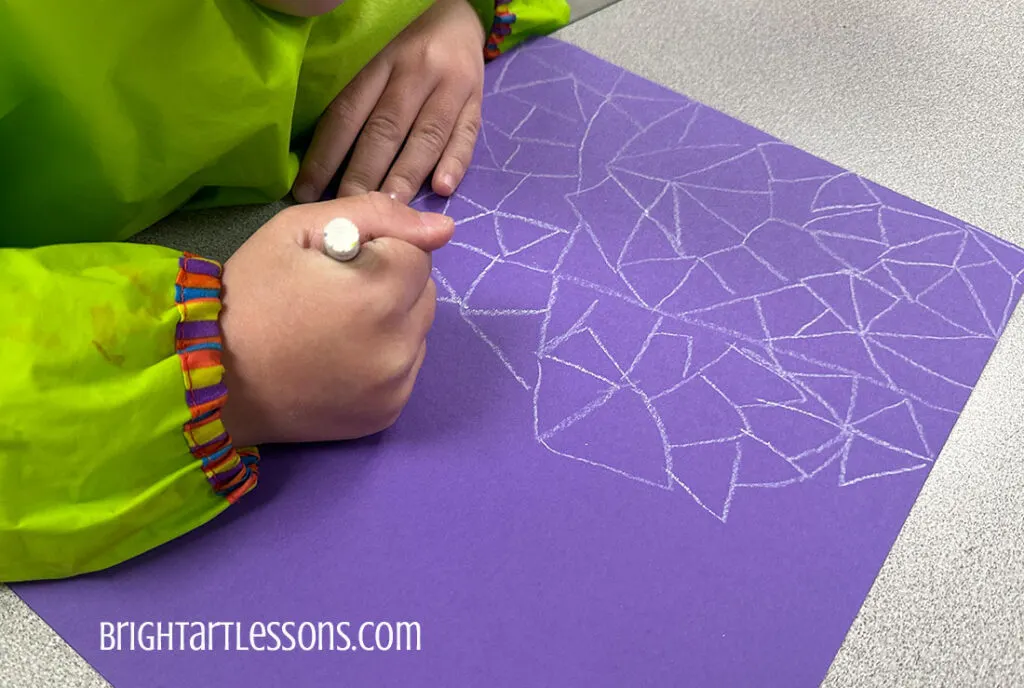
- 4. Have construction paper options on a table for students to select once they are done paiting. I like to have this table at the front of the room easy for students to see what is waiting for them and that they need to be done with painting first. Have a cup with white crayons available for students.
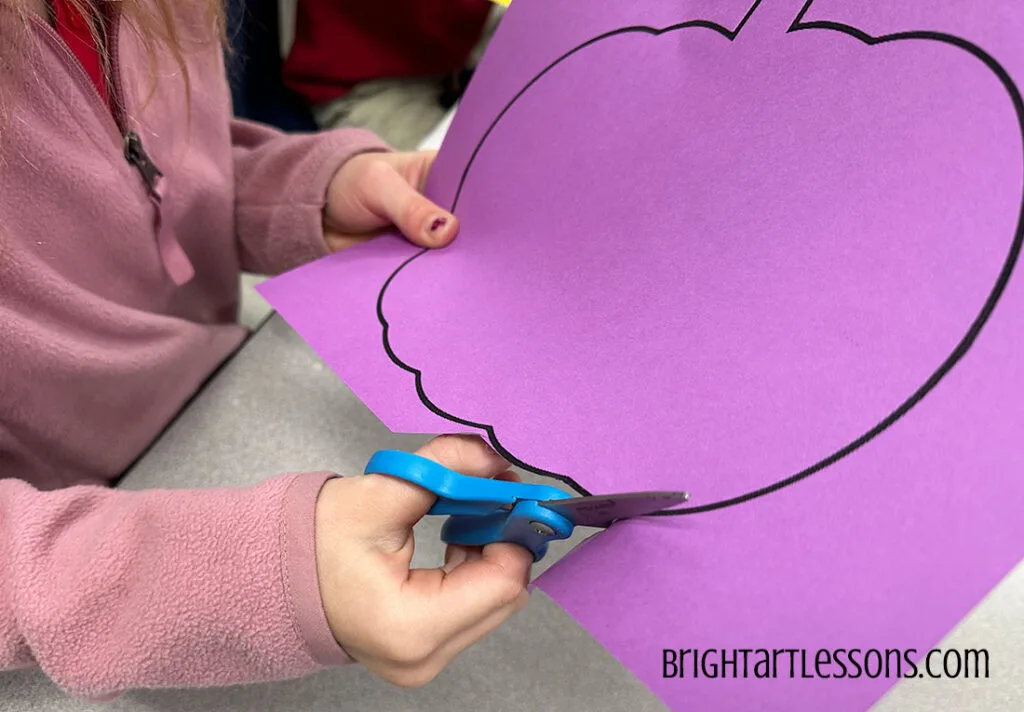
Cutting Skill Review
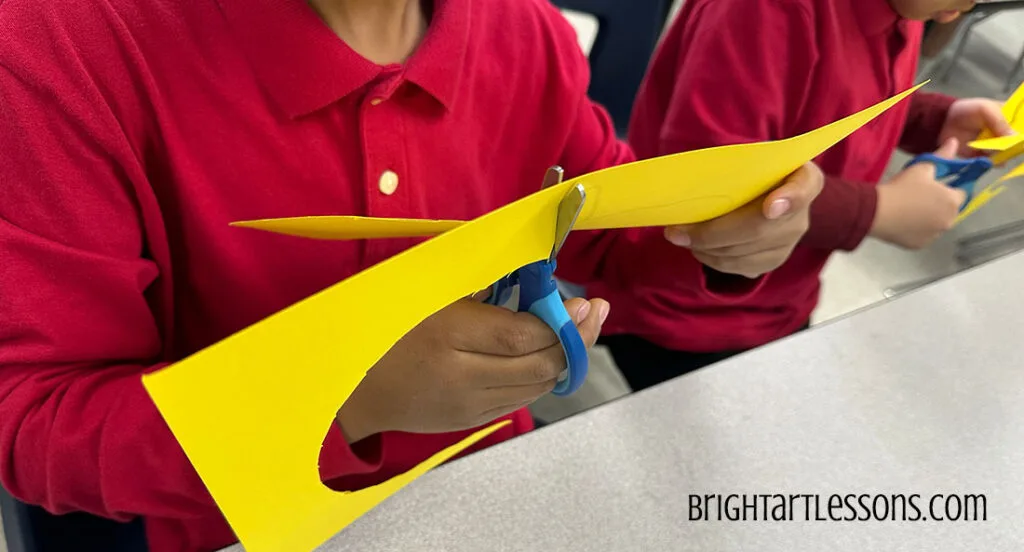
Go over cutting skills, including – (1) How to hold the scissors with thumb up, (2) The cutting hand stays still, the other hand moves the paper; Demonstrate the opposite – holding the paper still and moving the cutting hand until it’s uncomfortable. Describe why we keep the cutting hand in place, so we have more control and it doesn’t hurt our arm or wrist. (3) Open the scissors all the way and slowly close.
Adding 4 Curved Lines
Point out the curves in the pumpkin shape. Demonstrate with a black crayon connecting the point of the curve at the top of the pumpkin to the bottom of the pumpkin. There will be four curved lines when finished.
Painting Demonsration
Before you paint, demonstrate the preparations, including wearing a paint apron, using a paint mat, how to use the dowels, and what to do when finished. Raise your hand, and the teacher will collect your paint cup and dowels and take your painting to the drying rack. You can hang your apron up before working on the background. (IF a student has gotten paint all over their apron, intercede and hang it in a separate spot before another student uses it.)
Painting Scale on Pumpkins
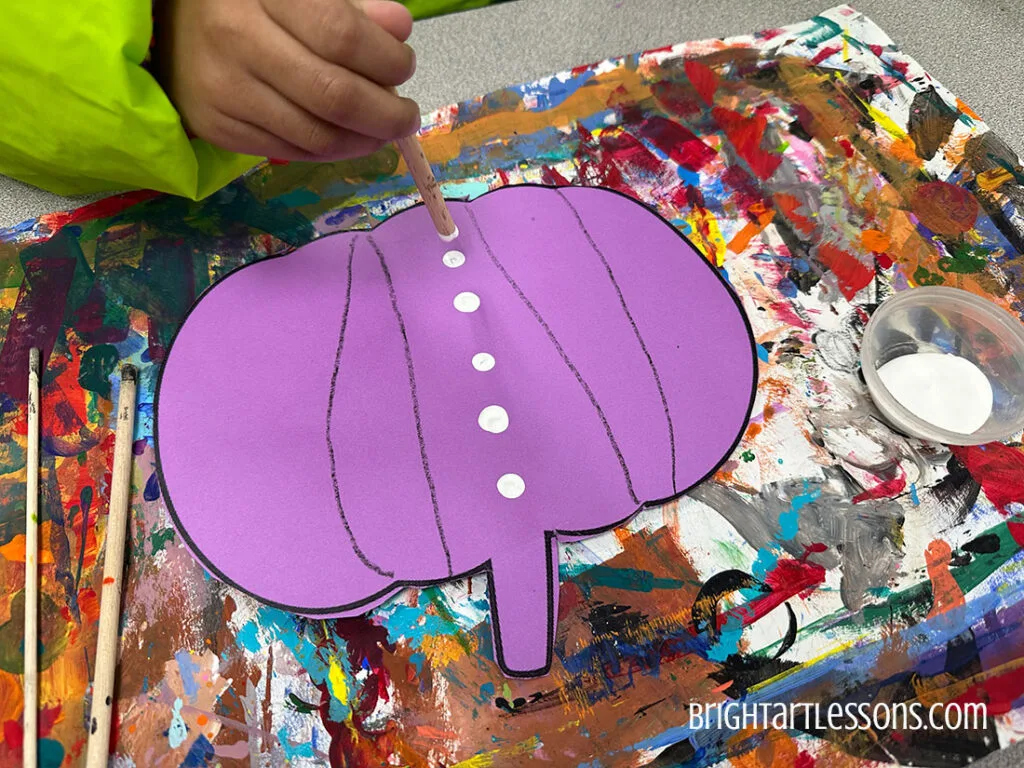
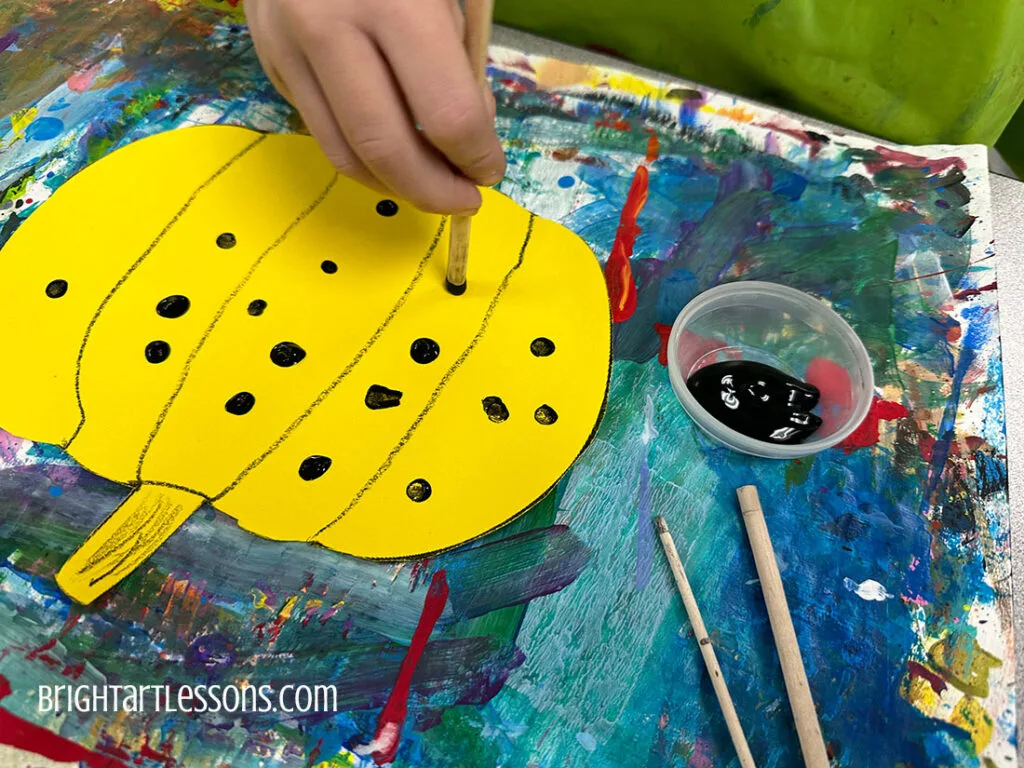
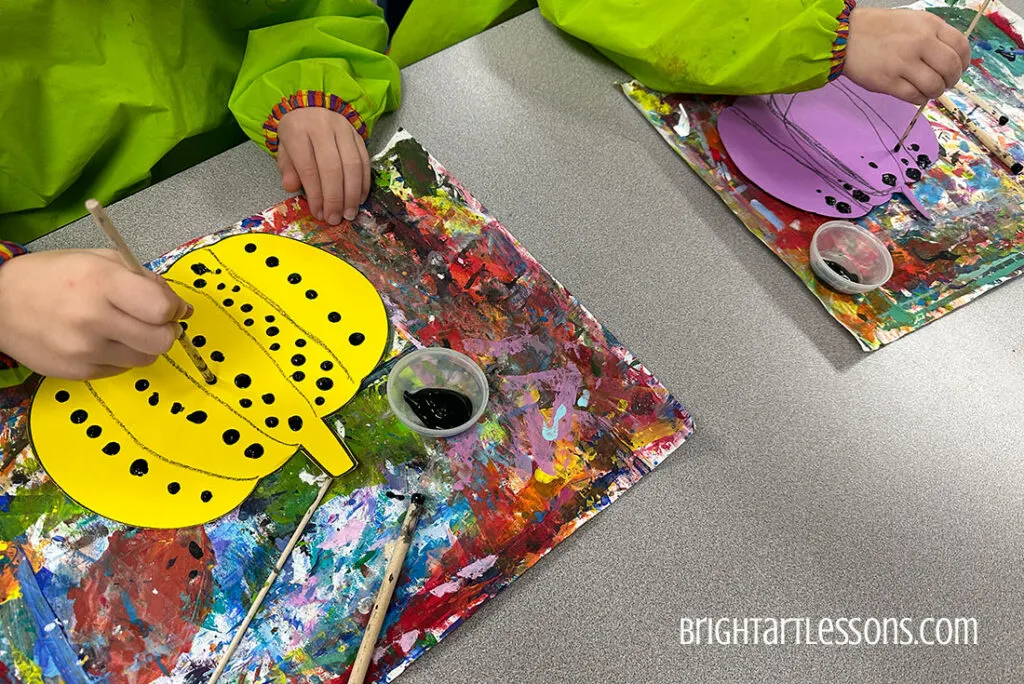
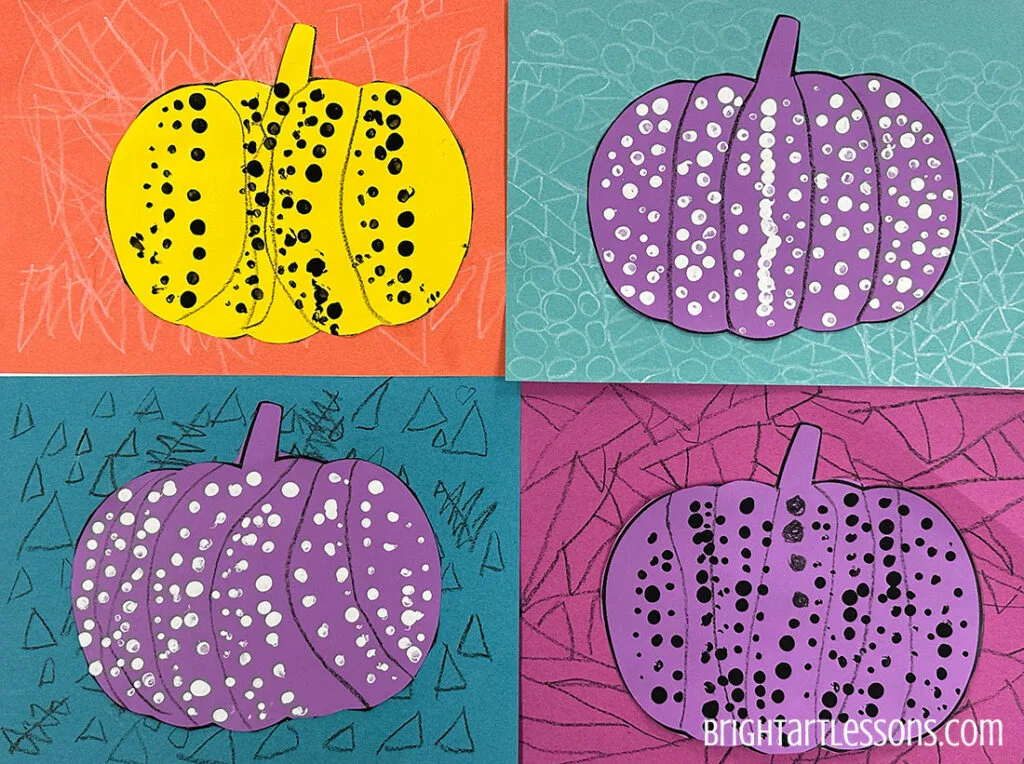
Demonstrate the application of SCALE using three different dowels: small, medium, and large. Dip the dowel in the paint and touch it on the paper. Do not drag or draw with the dowel. Demonstrate how to get 2-4 dots from one dip. If you run out of paint, it’s okay to dip and retouch the last dot. Can you make a pattern? Can you place the dots in a line like Yayoi Kusama?
Finished Painting & Onto the Background
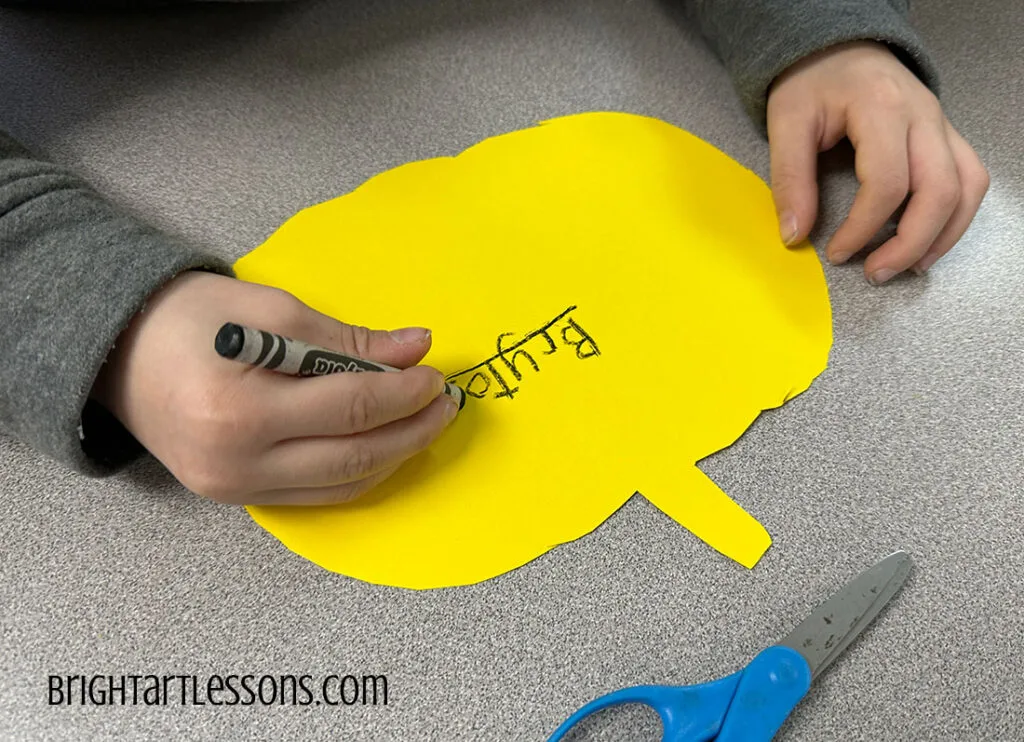
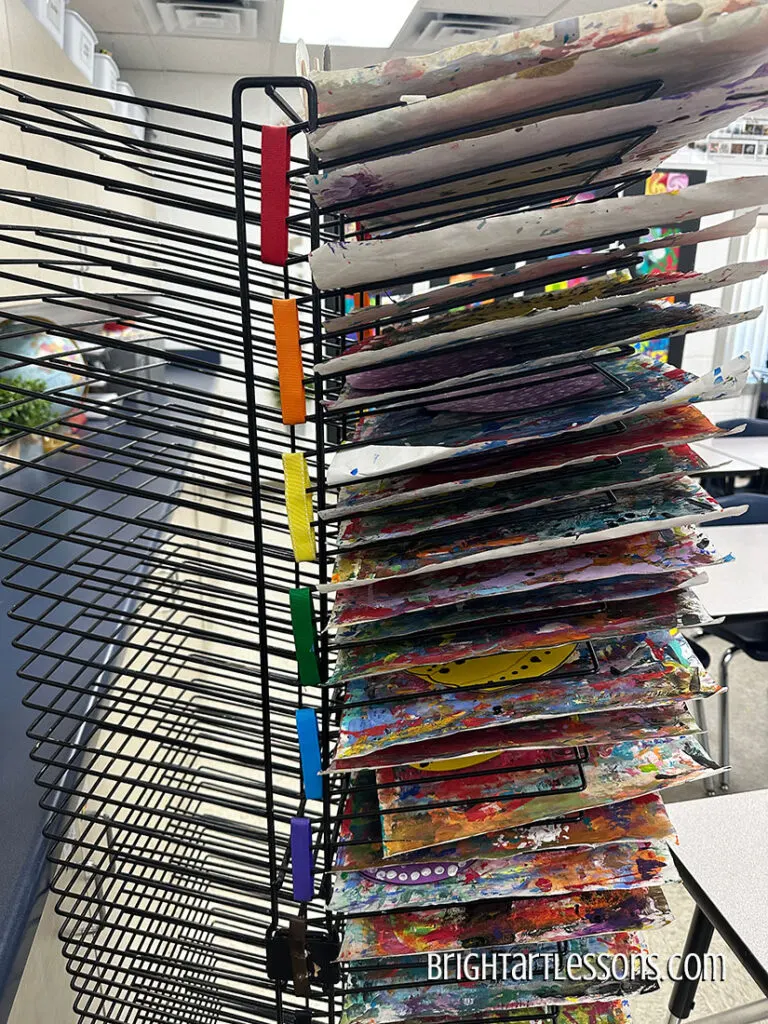
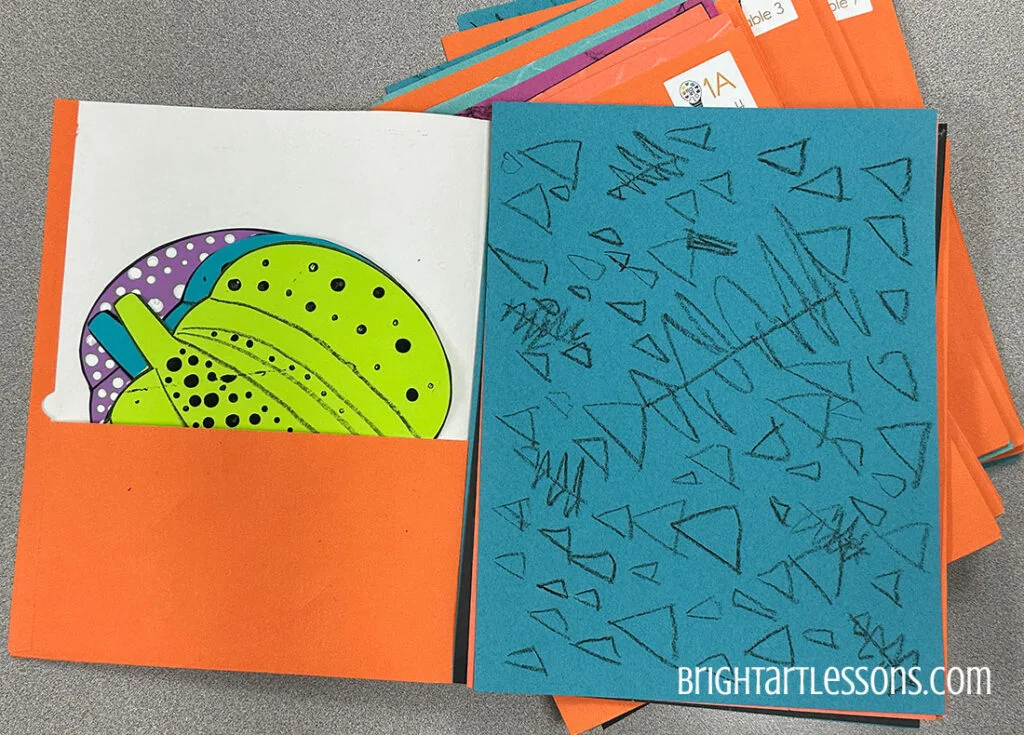
Collect the paint and sticks before placing the artwork on the drying rack. I use two cookie sheets to gather the supplies. Organize artwork on the drying rack by table so it’s easy to file in Table Folders later. (See Table Folder explanation here.) Students can hang up a paint apron and select a background color for their pumpkin. Have cut-out scraps in the recycling bin by the table so students can see what their pumpkin will look like in contrast to the background. (For example, a pink pumpkin against different color options.) Students return to their seats to (1) write their name on the back of the paper and (2) make a design on the front.

Storing Artwork
All background papers should be filed in table folders. Place an Avery label on the back of each background paper. (See Avery label post for more information HERE.)When dry, the painted pumpkins should go in table folders for easy distribution next week. Glue the dried pumpkins to the background at the beginning of class next week.
Early Finishers
An option for early finishers is to make another pumpkin for absent students. If they are not interested, use the extra paint at the end of class to make some extras so they are ready for students to select from next week – saving time and allowing them to jump into the project with the rest of the class.
Supportive Literature
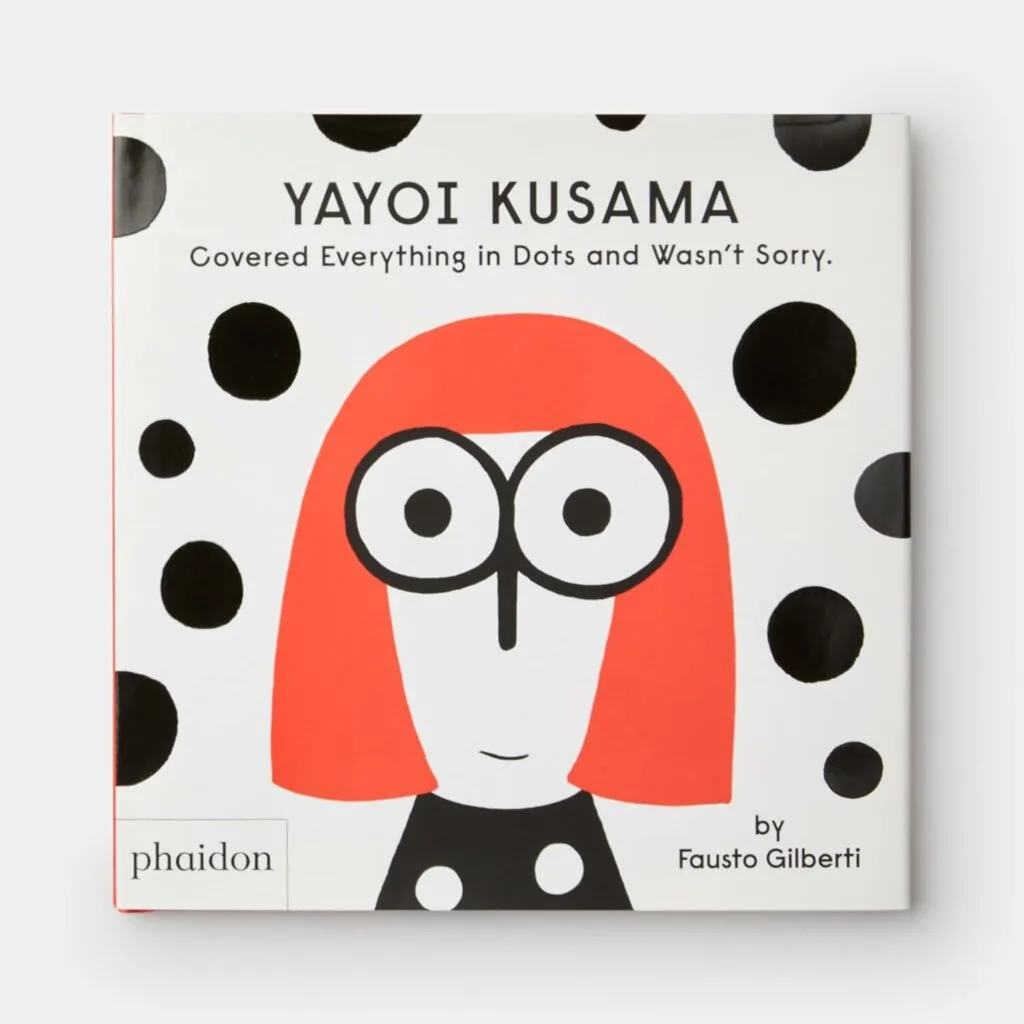
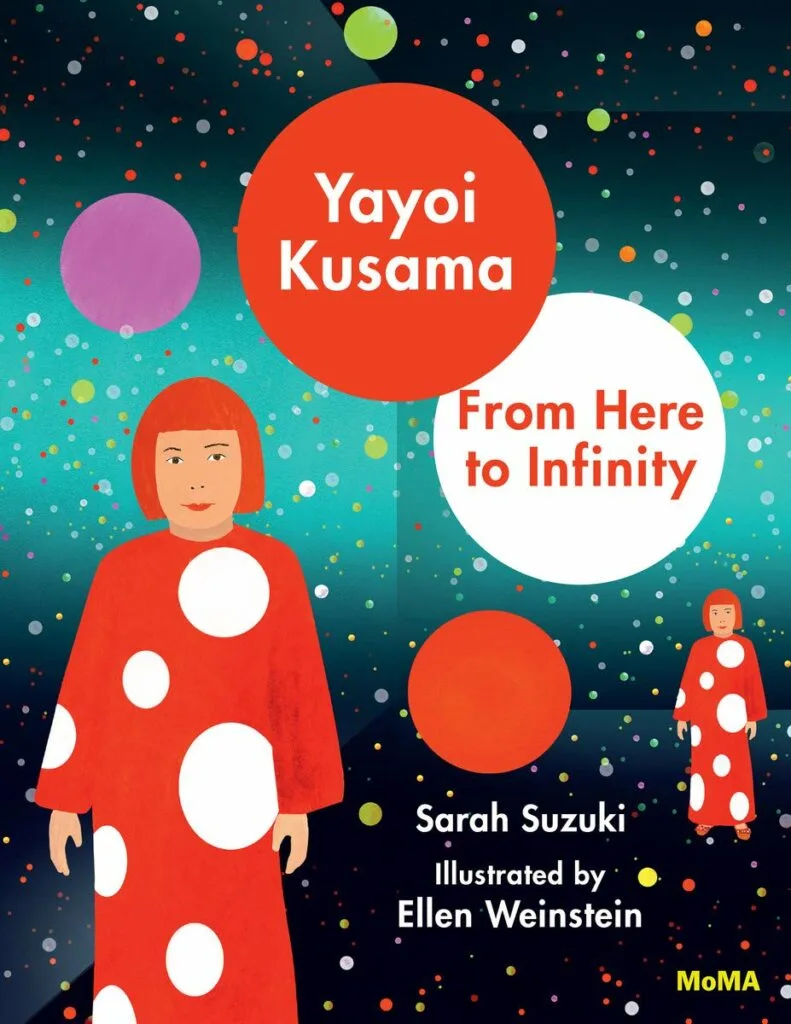
At the end of the pptx, there are links to read-aloud stories for early finishers. This is a great way to reinforce the information about Yayoi Kusama for all students while the teacher supports students. Students who are still working continue working while listening, and early finishers can watch the read-aloud book from their seats. I have yet to have time for both books, but here are two to choose from: Yayoi Kusama Covered Everything in Dots and Wasn’t Sorry by Fausto Gilberti* and Yayoi Kusama: From Here to Infinity! by Sarah Suzuki and Ellen Weinstein.* (* These links are Amazon affiliate links for your convenience.)
Part II – Finishing Next Week
The painted pumpkins need to dry. This lesson can be finished in conjunction with Louis Bourgeois’ spider as a juxtaposition of female artists childhood dreams of becoming an artist and how they each pursued their dreams. Using these lessons back-to-back can be completed in two 50-minute class periods. At the end of the second class, students can take both pieces with them. Displaying in the classroom or art room is festive yet applicable to their art education.