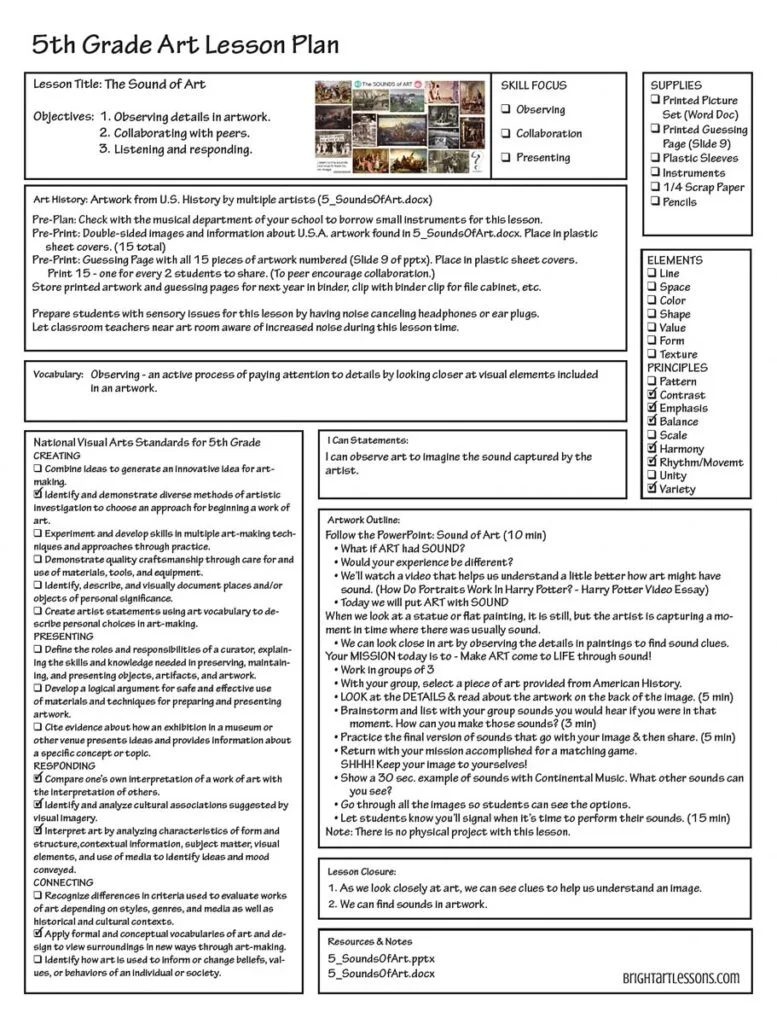
How do help students look closer at artwork? Observing art is a skill that can be taught through practice. This lesson – Sound of Art – helps students focus on the sounds that lay in artwork and challenges them to recreate the sounds. Student creativity flourishes as they collaborate with others and find clues left by artists.

Lesson Prep
Prep these items and students for the lesson:
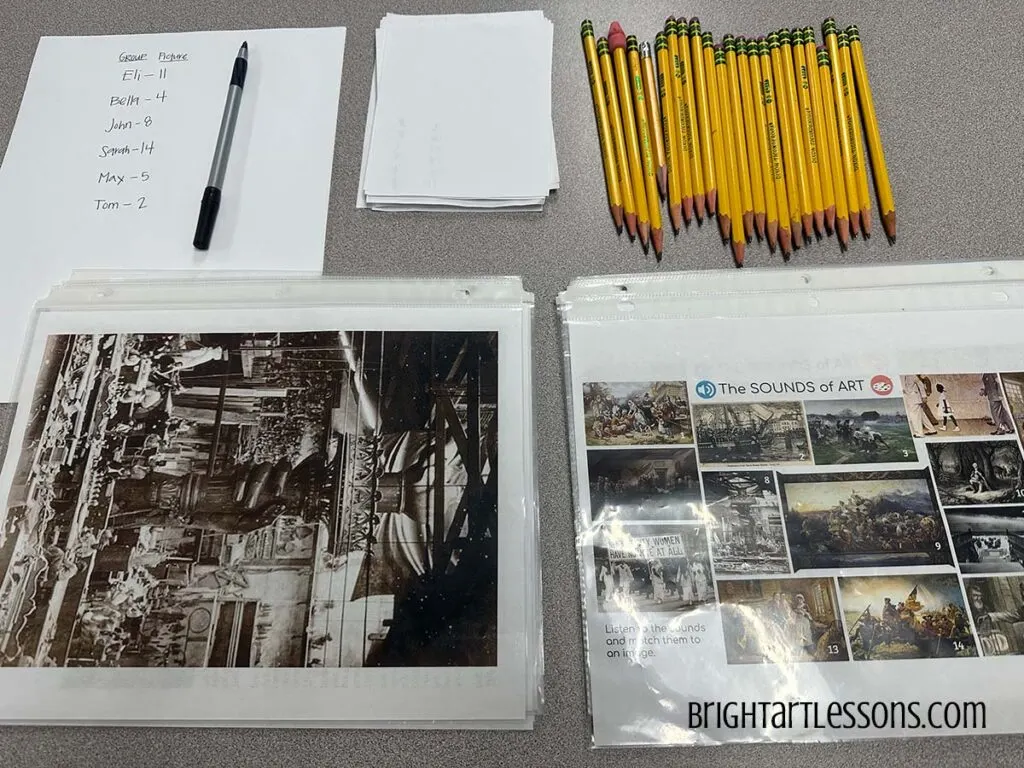
- Print & Reuse: Double-sided images and information about historic American artwork found in 5_SoundOfArt.docx. Place each printed page in a plastic sheet cover. (15 total)
- Print & Reuse: Guessing Page with all 15 pieces of artwork numbered (Slide 9 of pptx – 5_SoundofArt.pptx). Place in plastic sheet covers. Print 15 – one for every 2 students to share. (To peer encourage collaboration.)
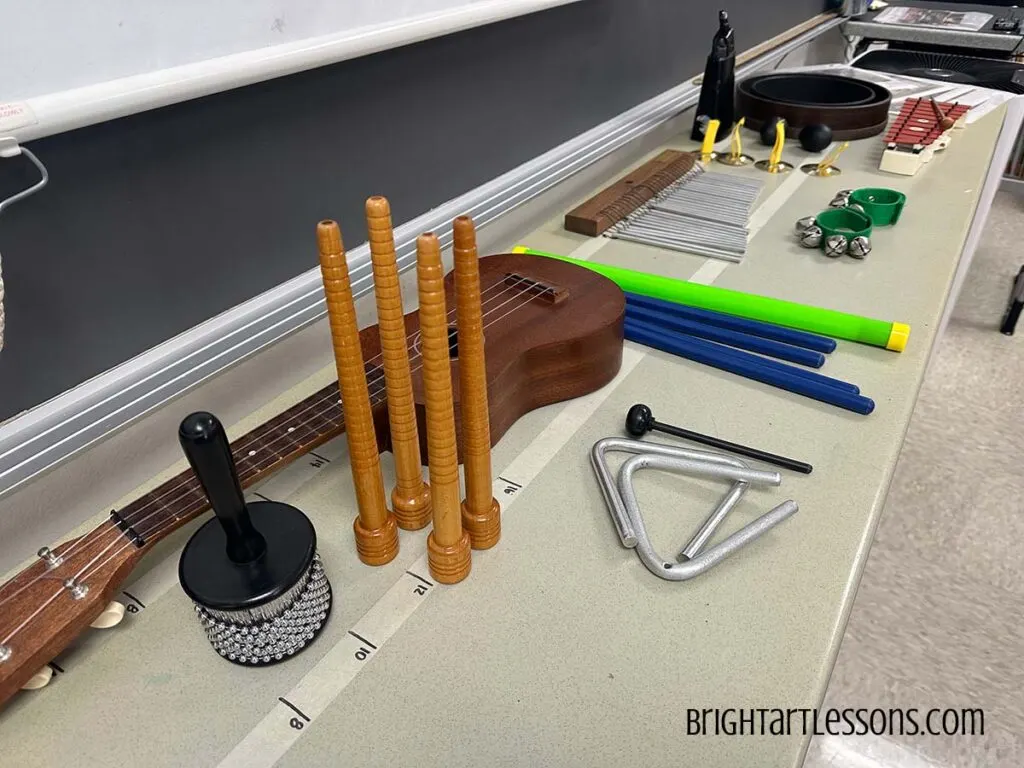
- 1 Week in Advance or More: Check with the musical department of your school to borrow small instruments for this lesson.
- Prepare students with sensory issues for this lesson by having noise-canceling headphones or ear-plugs.
- Let classroom teachers near the art room be aware of increased noise during this lesson time.
Lesson Supplies
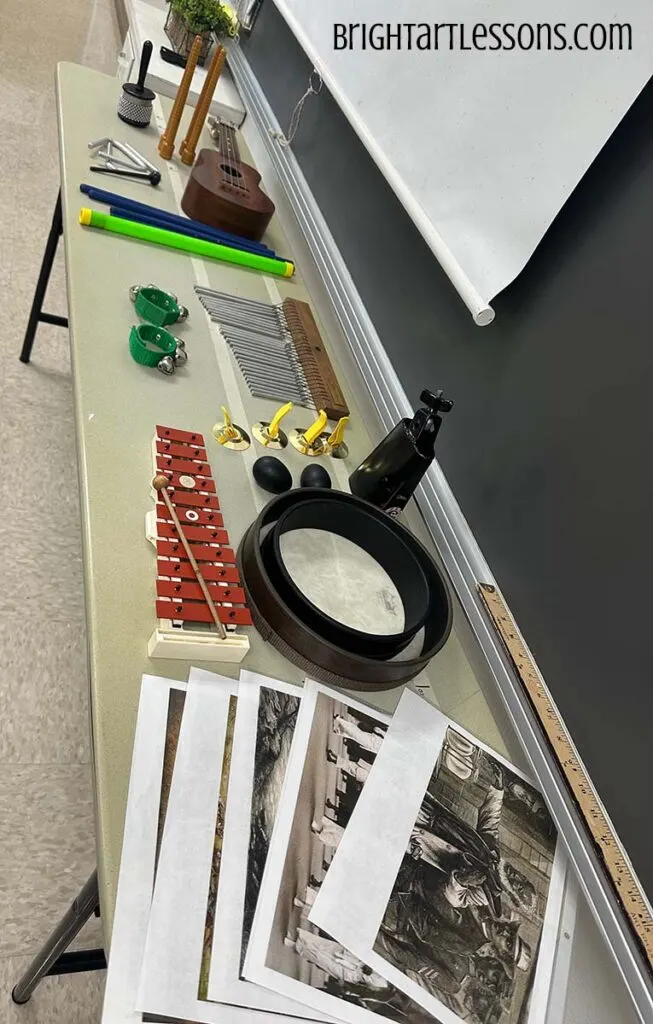
- Printed Picture Set (Word Doc)
- Printed Guessing Page (pptx Slide 9)
- Plastic Sleeves
- Instruments
- 1/4 Scrap Paper
- Pencils
Sound of Art – Lesson
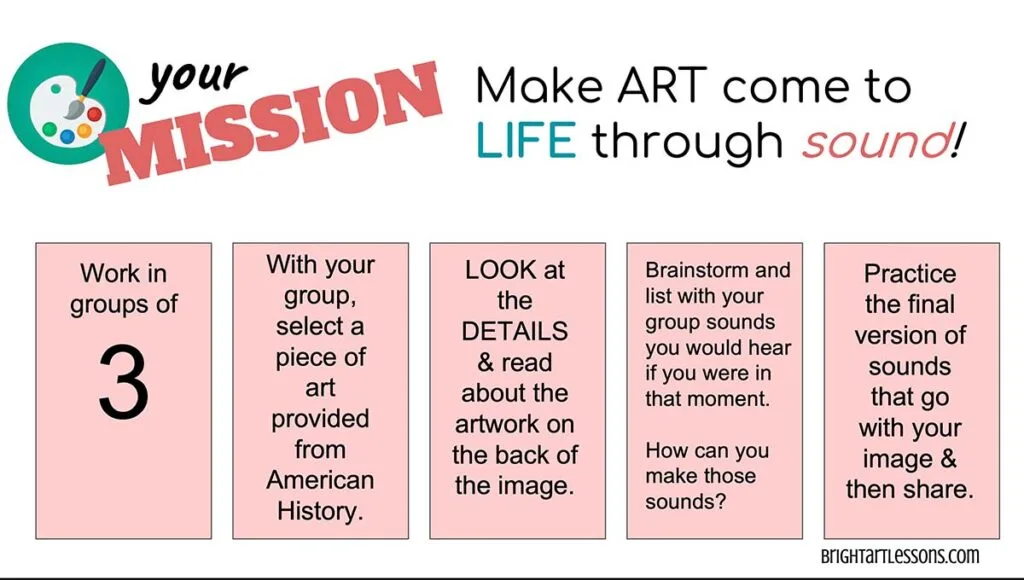

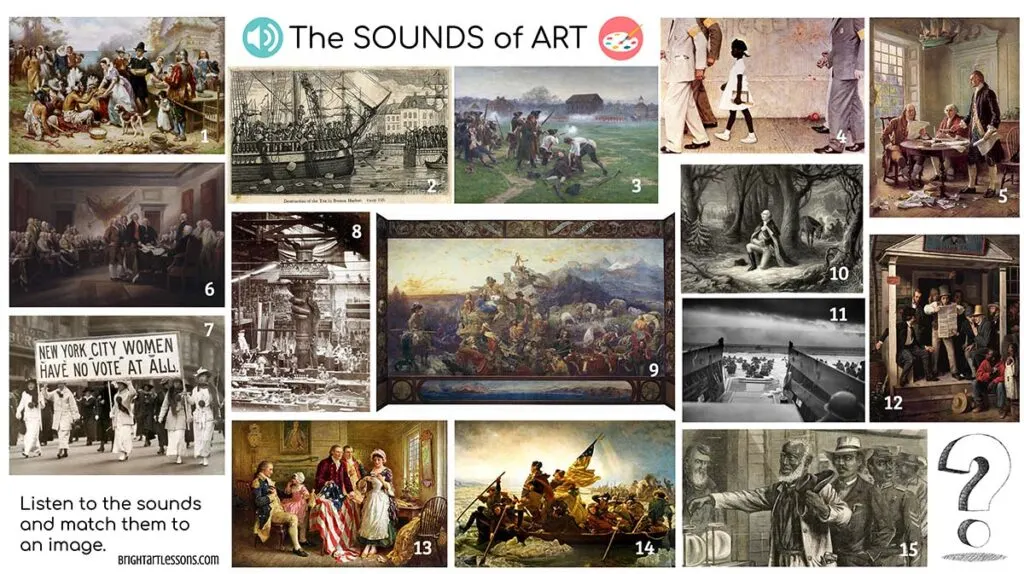
Fifth-grade students learn about American history, so this lesson has a variety of artwork about events in the U.S.A. Slides can be edited if you want to change the artwork. Observing is an active process of paying attention to details by looking closer at visual elements included in an artwork. Students work in small groups to find clues in a specific image that indicates sounds. Encourage them to look, discuss, read about the artwork, brainstorm, and recreate sounds. This is a 50-minute lesson. Download the Sound of Art in by clicking on three separate links: 1. PowerPoint, 2. Word Doc, and 3. Lesson Plan.
This is a fun lesson for everyone to get involved. Students can choose their groups peacefully or if there’s cause for disagreements, randomly choose groups. Although there is no physical art project, the skill of identifying details is practiced and reinforced by listening to each group perform and guessing. There are more pictures than you will need for the class so some will not be performed.
At the end of the slideshow, there are reward images or art puns for the students. There is also a video link of sounds students need to guess what they’re hearing. I have yet to have time to use this video, but it’s there if needed.
Lessons Learned After Teaching Sound of Art
The sound of Art in a tiled-floor classroom can get loud, but it’s worth letting students explore new areas creativity. Here are some lessons learned from teaching Sound of Art with 5th Graders:
- Review proper instrument usage as a group before you let students use them.
- Randomly hand out art images to maximize practice time.
- If you let students select an image one group one at a time to allow choice, hold pictures discreetly so other groups don’t see their selection. (This takes more time.)
- Remind students they are not actors performing what happened, but creating sounds.
- Walk around and support student brainstorming. For example, students are often stumped by Writing the Declaration of Independence, 1776 by Jean Leon Gerome Ferris. Ask them to look out the window. What is on the floor? What are they writing with? What would these clues sound like?
- If you have a sink, fill up a small wash bin with water for students to make water sounds. Boston Tea Party, 1773 is great to make a “plop” in the wash bin.
- Put a time limit on students practicing creating artwork sounds. (Max. 5 minutes)
- All instruments are available to each group when they perform.
- Leave at least 20 minutes at the end of class for each group to perform and the teacher to share the answers.
- Set a timer for each group performance – 20 seconds.
- Students write on scrap paper one person from the group’s name and the artwork number they think was performed. The teacher should write the answers too to make a “key”.
- After each group performs, one person from the group write or whisper to the teacher the artwork they presented.
- When all groups are done performing, the teacher reveals the group person and art number. For example: John’s group – No. 1, Sarah’s group – No. 15, etc.
- Ask, “By raise of hand who got all of them right?” “By raise of hand, who only missed one?” “By raise of hand, who only missed two?” “By raise of hand who got at least two right?”
- Was there one group that performed so well that everyone guessed it correctly?
- Return instruments with a thank you note to the music department!